Creation is at the heart of art education. It’s where students get to physically interact with their medium of choice, apply the theory and knowledge they have learned, and put it all into action to create an artistic expression that has never existed before. The experience can be exhilarating and magical.
The National Core Arts Standards describe three anchor standards related to this process of creating art:
- Generate and conceptualize artistic ideas and work.
- Organize and develop artistic ideas and work.
- Refine and complete artistic work.
National Core Arts Standards © 2015 National Coalition for Core Arts Standards.
Rights administered by State Education Agency Directors of Arts Education (SEADAE).
All rights reserved. www.nationalartsstandards.org.
While traditional media—like paint, chalk, pencils, and clay—are still popular and important materials for arts creation, technology has opened up an enormous palette of new possibilities. In this article, we’ll present lists and descriptions of digital creation tools organized by artistic medium. Some lists may hold connections to traditional art materials, while others will be new ones that have grown organically out of the opportunities that digital platforms present for artistic creation.
As you consider which tools fit your classroom best, identify what devices your students will be using and how compatible those platforms will be to the tool you wish to use. Many of the programs we’ve listed are web-based and work well on any device with web access. Other programs are created specifically as apps that function on tablets or require a local install on a PC or Mac computer.
In terms of usability, a touchscreen surface is generally most desirable, and each device will have its own unique advantages and drawbacks. If you don’t have access to a touch surface, students can still interact with most tools using a mouse or trackpad. In other cases, external tablets can be connected to the device to allow use of a digital pen or pencil. It’s important that you explore the specifications and requirements for each option before implementing them into your classroom experience. You may also want to consider how the tools on each list overlap and can be applied to other areas of artistic expression. The unique way that each student decides to use these tools can become part of their personal artistic process and style.
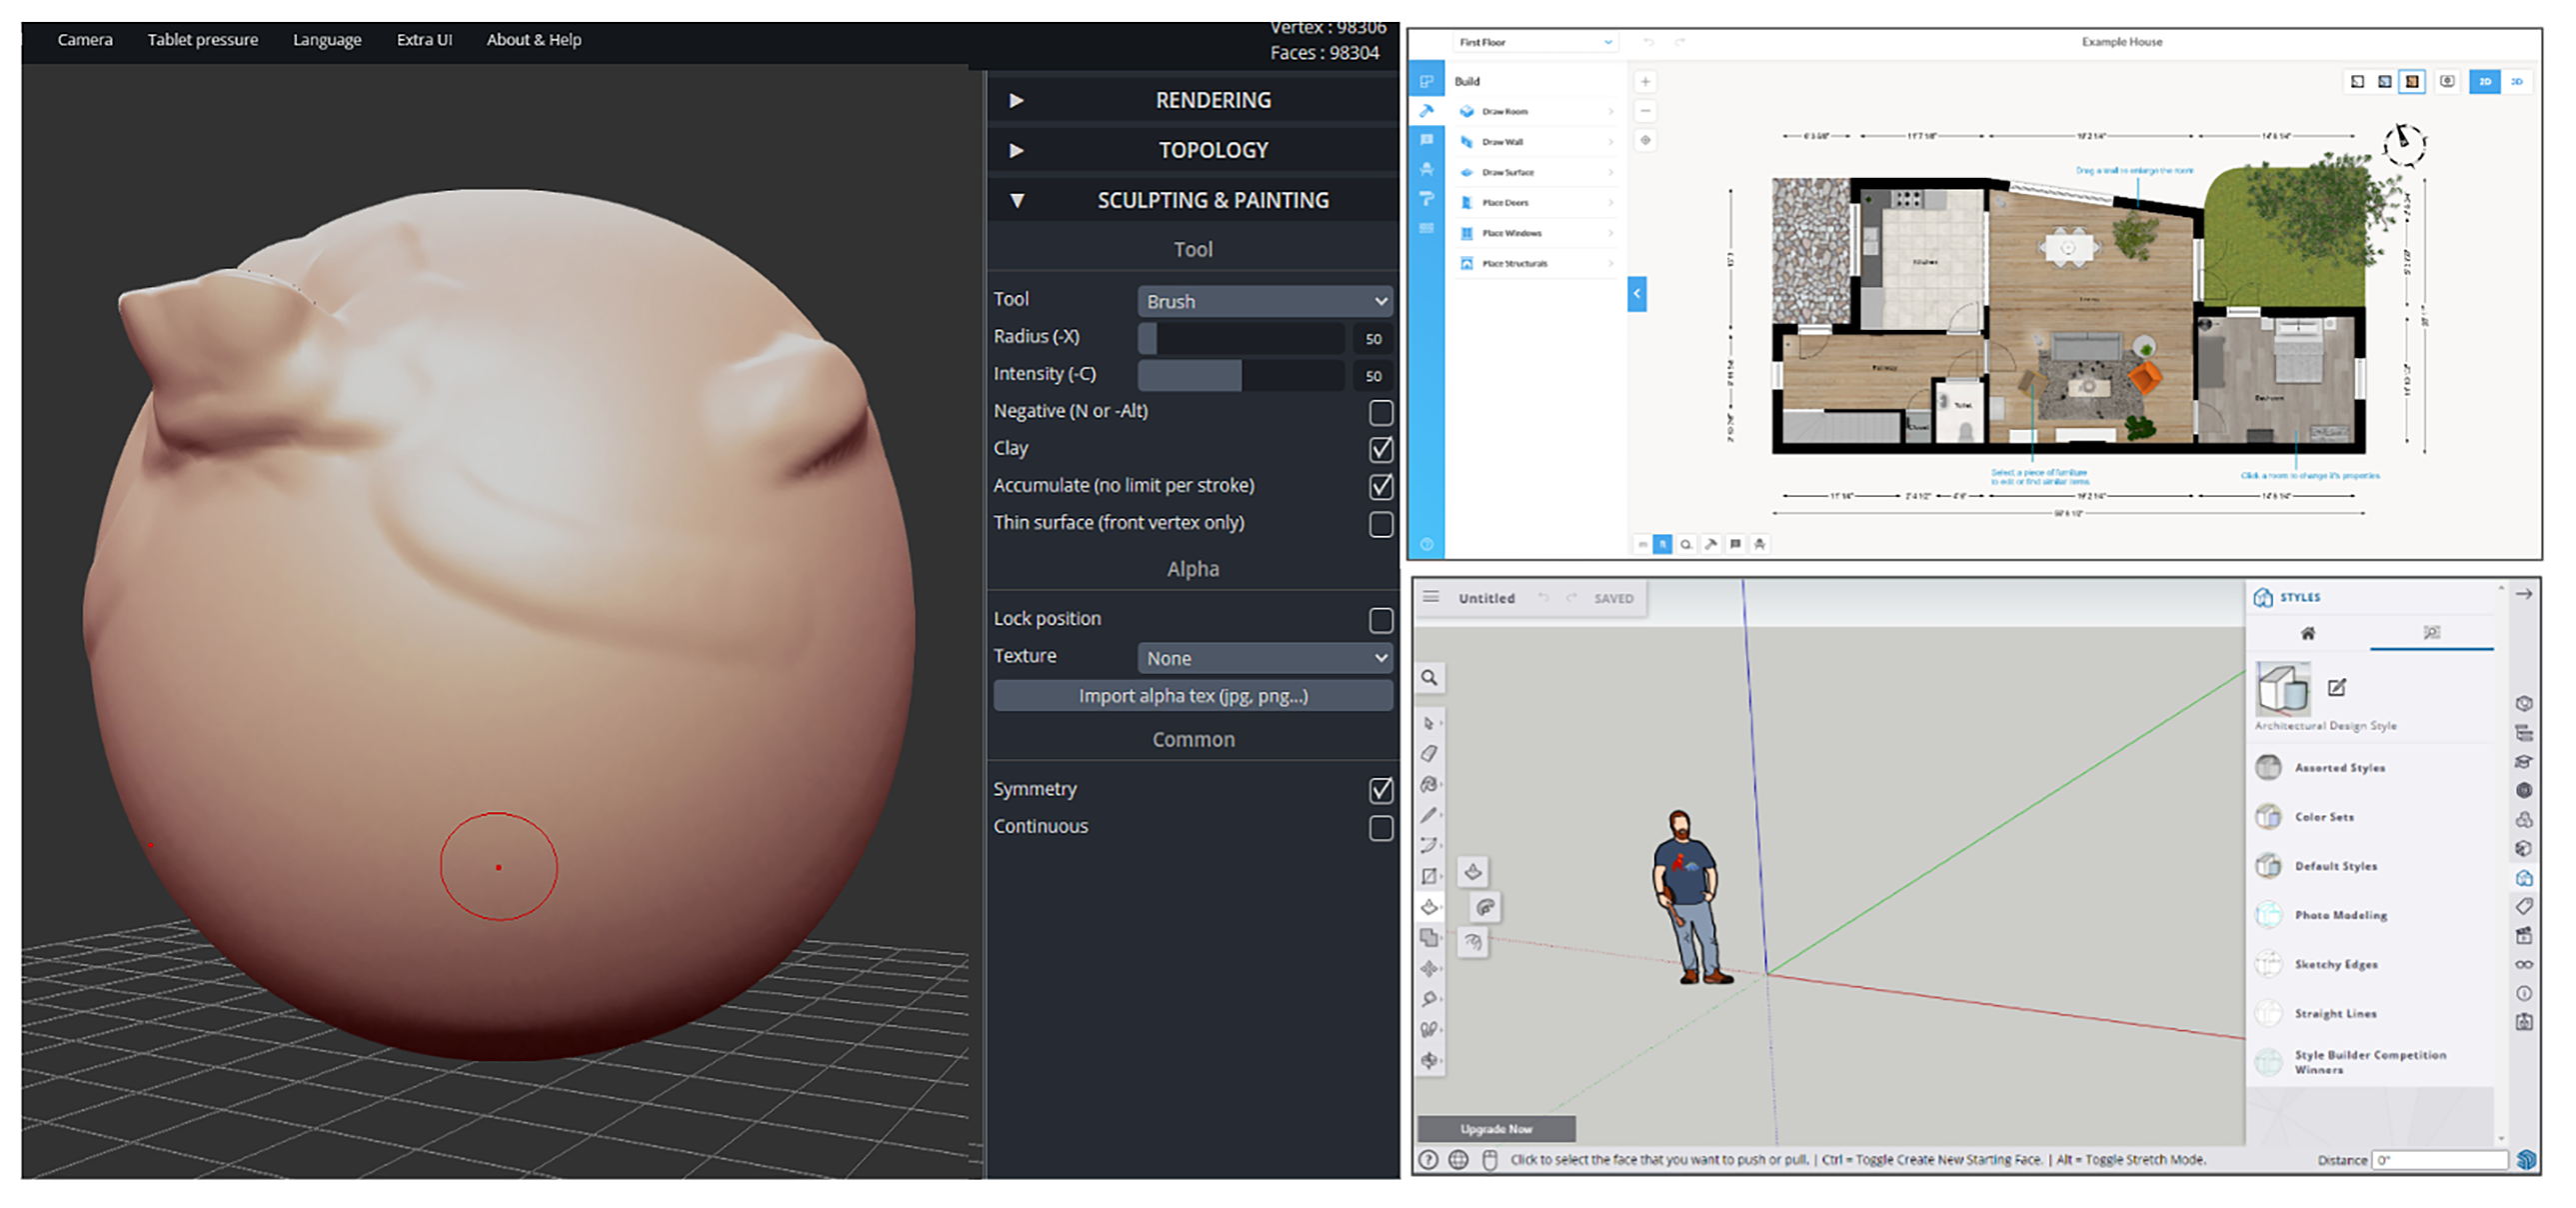
Not long ago, sculpture dominated the production of three-dimensional art. While sculpture continues to be very important and popular, technology has expanded the possibilities for creating in three dimensions. At an introductory level, digital tools are effective ways for students to learn the concepts of sculpture and experiment in the medium without incurring the cost of physical sculpting materials. Digital tools are also useful for creating prototypes of art to be physically sculpted later. These can even be produced using a 3D printer if you have access to one in your school. Technology has introduced brand new three-dimensional art forms, as well, including 3D animation, video games, and virtual tours. Many students will instantly recognize this new type of modeling from movies and video games. Consider some of the following digital tools when introducing three-dimensional art to your students. Tools are listed in alphabetical order in each category.
Sculpture
- Android Apps: Touchscreen tablets can make digital sculpture and 3D modeling come alive for students, creating a more tactile experience. Search the Google Play store for “free sculpting” or “3D modeling and animation.” For example, Sculpt+ is one free Android app that lets you sculpt and paint in 3D.
- iOS Apps: Search “sculpting” or “3D modeling” in Apple’s App Store to find both paid and free options. For example, Forger is a 3D sculpting app only available for iPad. It includes the unique feature of multi-touch sculpting. Three active files are available with the free version.
- SculptGL: This tool works directly in your web browser, so it can work on nearly any device. Start with a virtual piece of clay, and then use your mouse (or touchscreen) to sculpt. Customize your experience with many menus of options and export your finished work. Choose from 10 different languages. No account is needed to use this tool.
Animation and Drawing
- Blender: This is a comprehensive, professional-grade 3D creation suite that is open-source and free. This is an ideal option for students who want to dive more deeply into the art of animation and 3D modeling. This tool requires a download and local installation.
- Microsoft Paint 3D: The classic Microsoft Paint has been updated to include the ability to turn 2D drawings into 3D models that you can manipulate and view from multiple angles. A free download is available.
- Unreal Engine: Use this advanced tool to create interactive 3D content. It’s perfect for creating 3D games, video for film, architecture, simulations, and more. This sophisticated and professional tool is best suited for advanced students and is available for free download. Learn more about Unreal Engine for educators.
Architecture and Design
- Floorplanner: This product is free for personal use and is intended for creating 2D and 3D floor plans. The free version should be sufficient for most classroom needs, and it may be easier to use than some of the other architecture and design tools. To learn more, explore their Support page.
- HomeByMe: Create a 3D home design. This site includes images from the product community to inspire ideas. All parts of the product are included in all plans, and you can create three designs with the free version. This product has a fairly simple interface, which may benefit new users. Here is an overview video of the product.
- SketchUp: This tool allows you to create 3D models of entire homes. SketchUp may be the most comprehensive free 3D design software available online. Although this is a freemium product, the free version should meet most student needs. This product was formerly owned by Google and has now been sold to Trimble. To learn more, explore this overview video or this more detailed product demo.
These tools are specifically designed for creating animations, and they offer some of the most robust creative options available. While some are suitable for every level of student, others offer features to challenge more advanced learners. The first set of animation tools allows students to create traditional animations using digital tools. The second section lists some options to have students create animations while being introduced to computer coding. The final section explores tools for animated GIFs and the tools designed specifically for creating these popular (and often viral) mini-movies.
Traditional Animation
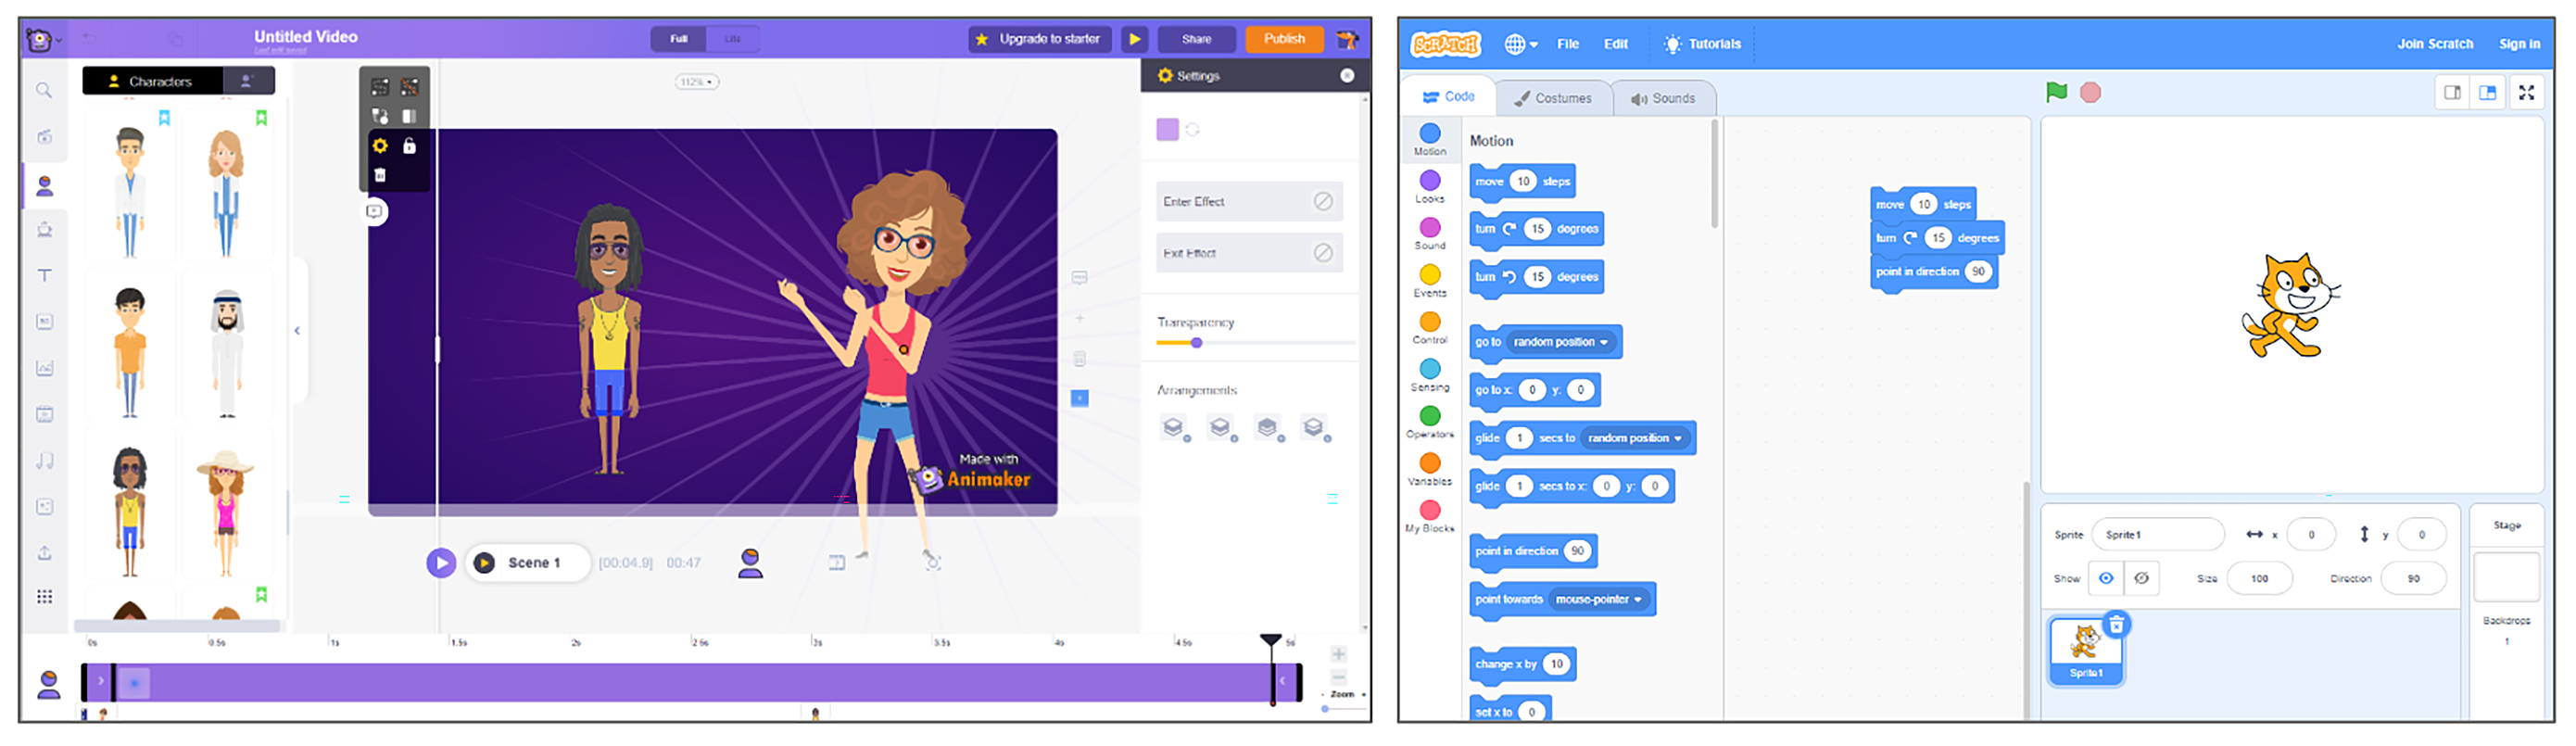
- Animaker: This online tool includes drag-and-drop functionality to help you create a series of scenes that can be turned into an animated video. This is a freemium tool, offering some elements for free and additional ones for a fee.
- Animation & Drawing by Do Ink: This iOS app is great for introducing younger learners to the concept of animation.
- FlipAnim: Draw a series of pictures on these semi-transparent pages to create a flipbook. Run the flipbook to show your finished animation.
- OpenToonz: This is free animation software for creating 2D videos. It is open-source and includes a wide range of features.
- Pencil2D: This is another product that requires a local install. It allows you to create hand-drawn 2D animated videos. It is both robust and accessible to beginners.
- Stop Motion Studio: This app for iOS can streamline the process of creating stop-motion animation and make it more accessible to younger students. The app automates the process of stitching your pictures together into the final animation. Stop Motion Studio and other apps like this typically allow you to add your own voice to the finished animation, if desired.
Coding
- Code.org Sprite Lab: Users apply block-based programming to create animations and games that interact with one another. Sprite Lab is web-based and free. Any creations can be shared with a code or even sent to a phone.
- Scratch (Tips): Program your own interactive stories, games, and animations with this free tool from MIT. While designed specifically for students aged 8–16, older students may also enjoy it. This tool provides a great introduction to coding as well as animation and storytelling. Use it online or download the app for Windows. There are many free curricula and tools to help students with animation in Scratch. For example, Google’s CS First provides a free unit on Storytelling using Scratch. BootUp PD also has many free resources and Scratch lessons that you can use. A good place to get started is this lesson for animating your name with Scratch.
- ScratchJr: This is a free introductory programming application that can be downloaded in both iOS and Google Chrome. ScratchJr was inspired by Scratch and allows the creation of interactive stories, games, and animations, but it was developed to be more appropriate for younger children and developing readers. Although designed for younger children, it is a great tool to use with beginners no matter their age. BootUp PD has free ScratchJr lessons and resources for you to explore and use in your classroom.
Animated GIFs
- Adobe Photoshop: This industry-standard software program can be used to create animated GIFs. This is a premium product requiring a purchase.
- Clipchamp (Tips): This video production suite offers a free export option specifically for the purpose of creating GIFs.
- Creator Studio: This simple add-on to Google Slides is great for creating GIFs in a familiar platform. Create your sequence of images with one picture per slide. Choose to make a GIF, image sequence, or video file, and then download the final product.
- GIPHY: This simple website pulls video clips from GIPHY, YouTube, or Vimeo, and you can choose the starting point and duration of the clip. You must create an account to create your own video, and all produced videos remain public.
- Tall Tweets: This tool is similar to Creator Studio and allows you to turn Google Slides presentations into GIFs and videos. Create your slides and export with this add-on.
There are many opportunities for students to apply concepts of drawing and painting through digital applications. Digital drawing and painting tools often include digital palettes, brushes, and tools that mimic the offline physical experience. Some options are integrated into the core creation tool while others are accessed through separate, complementary apps or websites. Here is a list of some of the most popular choices.
- Adobe Creative Cloud: Adobe offers industry-standard art creation tools. Illustrator and Photoshop are the most useful for drawing and painting. These programs must be purchased.
- Aggie.io: This is a free collaborative drawing and painting tool. Share a link to begin drawing together. Multiple drawing and painting tools are included.
- Artweaver: This is a full-featured painting tool with many realistic brushes. This Windows download program offers both free and paid versions. Get basic functionality for education and noncommercial use for free.
- AutoDraw: This tool is more for fun than serious art, but it can be an entry point into drawing or a fun brain break activity. Turn a sketch into a polished drawing using the magic pencil, text tools, paint bucket, and shapes. Students do their best to draw a picture, and Google suggests similar images. Click that image to replace your own.
- bomomo: Experiment with drawing and design by controlling six dancing dots on this interactive drawing canvas. Select a tool, click and drag/hold your mouse on the canvas to draw. Select from 20 different tools. Create art on a drawing pad, and save your creation as a .jpg.
- Canvas: This is a simple whiteboard for the Google Chrome browser. Draw on the canvas, annotate images, and add layers. Select from pencil, pen, marker, or charcoal. You can choose a color and thickness for the drawing tool you select.
- Google Play Store (free drawing apps): Browse this extensive list of free drawing apps for android devices.
- Google Play Store (free painting apps): Browse this extensive list of free painting apps for android devices.
- JacksonPollock.org: There are no instructions on this site. Instead, students are greeted with a blank canvas and a mouse that begins dripping paint. Students can experiment with their mouse or touchpad to create art.
- Google Jamboard (Tips): This is a collaborative whiteboard product from Google. While not designed specifically for art, users can add text, images, backgrounds, shapes, and drawings to the blank canvas.
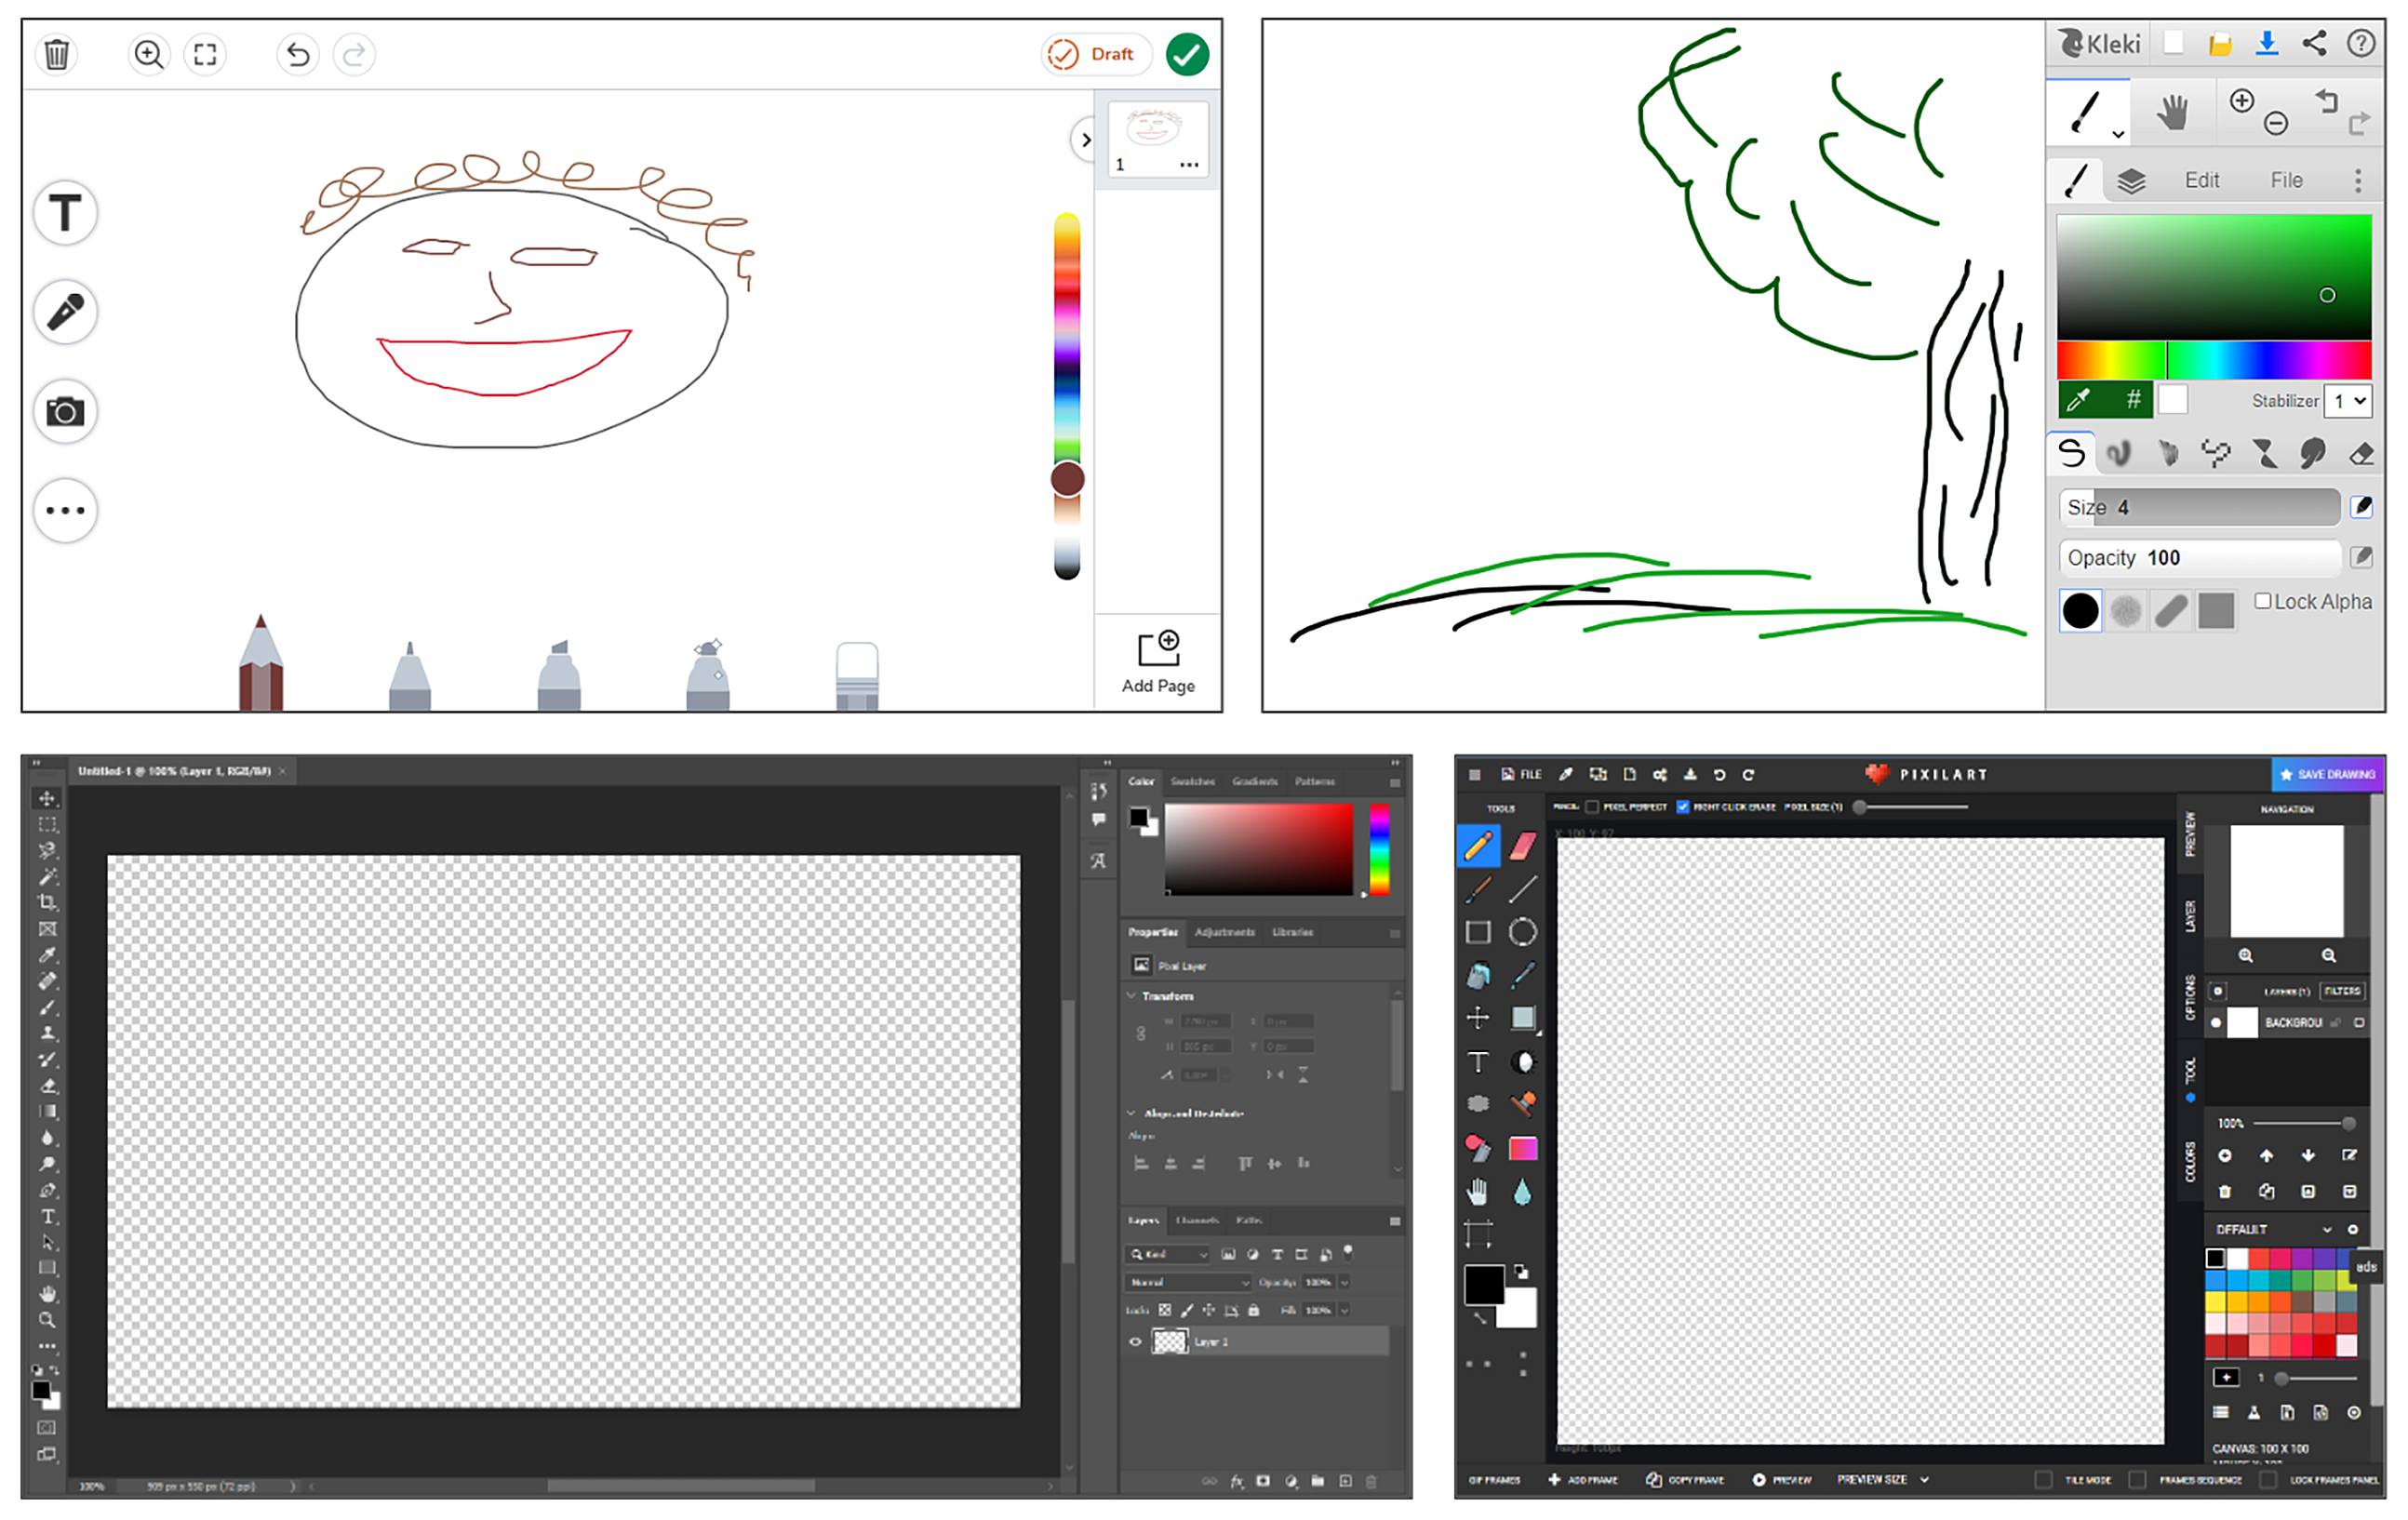
- Kleki: This is an online painting tool. Choose different brushes, select various colors of paint, and access the blending tool. Create layers and use a library of editing tools. Save your finished image.
- Krita: Krita is a free, professional-grade, open-source painting program created for download on Windows computers. You will find many preloaded brushes and painting tools.
- Microsoft Fresh Paint: This is a painting art app from Microsoft that’s intended to replicate the experience of putting a brush or pen to paper. Use it to simulate watercolor, oil, pastel, and pen. It features natural pressure sensitivity.
- NGAkids Art Zone: This iPad app has eight interactive activities inspired by works in the collection of the National Gallery of Art. There is a sketchbook for freehand drawing. The site is child-friendly and has been created for self-exploration and artistic expression.
- PaintZ: This Google Chrome extension offers a palette of drawing and painting tools, including brushes, colors, text, resize options, and more. Create and edit drawings. It’s designed to be fast and easy to use.
- Pixilart: This free tool offers an extensive palette of tools that allow you to draw in pixels to create pixel art. You can even add layers. Tutorials are built into the platform.
- Procreate: This is a powerful and highly regarded drawing and painting app for the iPad. There is a per-unit cost to install this app. Access hundreds of handmade brushes, a layer system, and filters.
- Seesaw (Tips): The drawing option in this digital portfolio tool offers a variety of shapes, pens, line tools, and colors. Use the record tool to record a drawing in progress or comment on a finished product.
- Sketchpad: This free site offers a collaborative digital drawing canvas with text, drawing, image, and paint tools. Create, export, and share digital paintings and drawings.
- Sketch Toy: This is a very simple whiteboard drawing tool. Choose a pen, size, and color, and then begin drawing. Save to social media, email to yourself, download, or share a link.
- Sumopaint: This free online tool has the feel of Photoshop and is tailored to digital drawing and painting. Choose from an extensive palette of tools and work with layers. Other tools in the Sumo suite include 3D creation, coding, photo editing, audio recording, video production, and pixel art. Use the basic free plan or upgrade to pro and education plans.
- Toy Theater: This suite of online games is designed for elementary students. Choose the art category for art-specific choices like the open-ended Doodle Pad or the various style-specific art Doodle Pads (Picasso, Miro, Van Gogh, Degas, and more).
- Whiteboard.chat (Tips): This free collaborative whiteboard allows the teacher to push out the board to a class with a code or link. Drawing features include a drawing pen and options for lines, arrows, curves, double arrows, shapes, and more. This might be the most full-featured collaborative whiteboard available though not created specifically for art. Invite students with a code or link. Teachers can observe each student’s whiteboard in real time, and they can even interact and annotate each student’s board.
- Whiteboard.fi (Tips): This is another free whiteboard tool that can be pushed out to all students while providing the ability to see their progress in real time. It functions much like a grease board, with each student having access to a drawing pencil. Students can join with a code or link. Students do not need an account. You can choose a background and add drawings, shapes, text, images, and more. This option has a simpler interface and fewer options than Whiteboard.chat.
- Ziteboard: This collaborative whiteboard is accessed through a free Google Chrome extension. It offers a simple interface that allows for drawing, typing, and adding images. You can zoom in and out as needed to work on your canvas.
Graphic design is often the place where art meets career. It is integral to advertising, web design, poster making, branding, and more. Many of the tools listed across other categories in this article are regularly integrated into the graphic design process, such as photo editing and digital drawing or painting. Beyond these cross-referenced tools, there are many tools specifically intended to help artists in the graphic design process. These tools provide creative options for producing advertisements, newsletters, books, infographics, and more. Most products provide both templates for quick, guided creation as well as blank canvases for complete artistic control.
- Canva: This tool strives to make the creation of infographics, posters, presentations, and flyers quick and easy. Start from scratch or use a template. Multimedia, such as audio and video, may also be integrated. Students can create without a login.
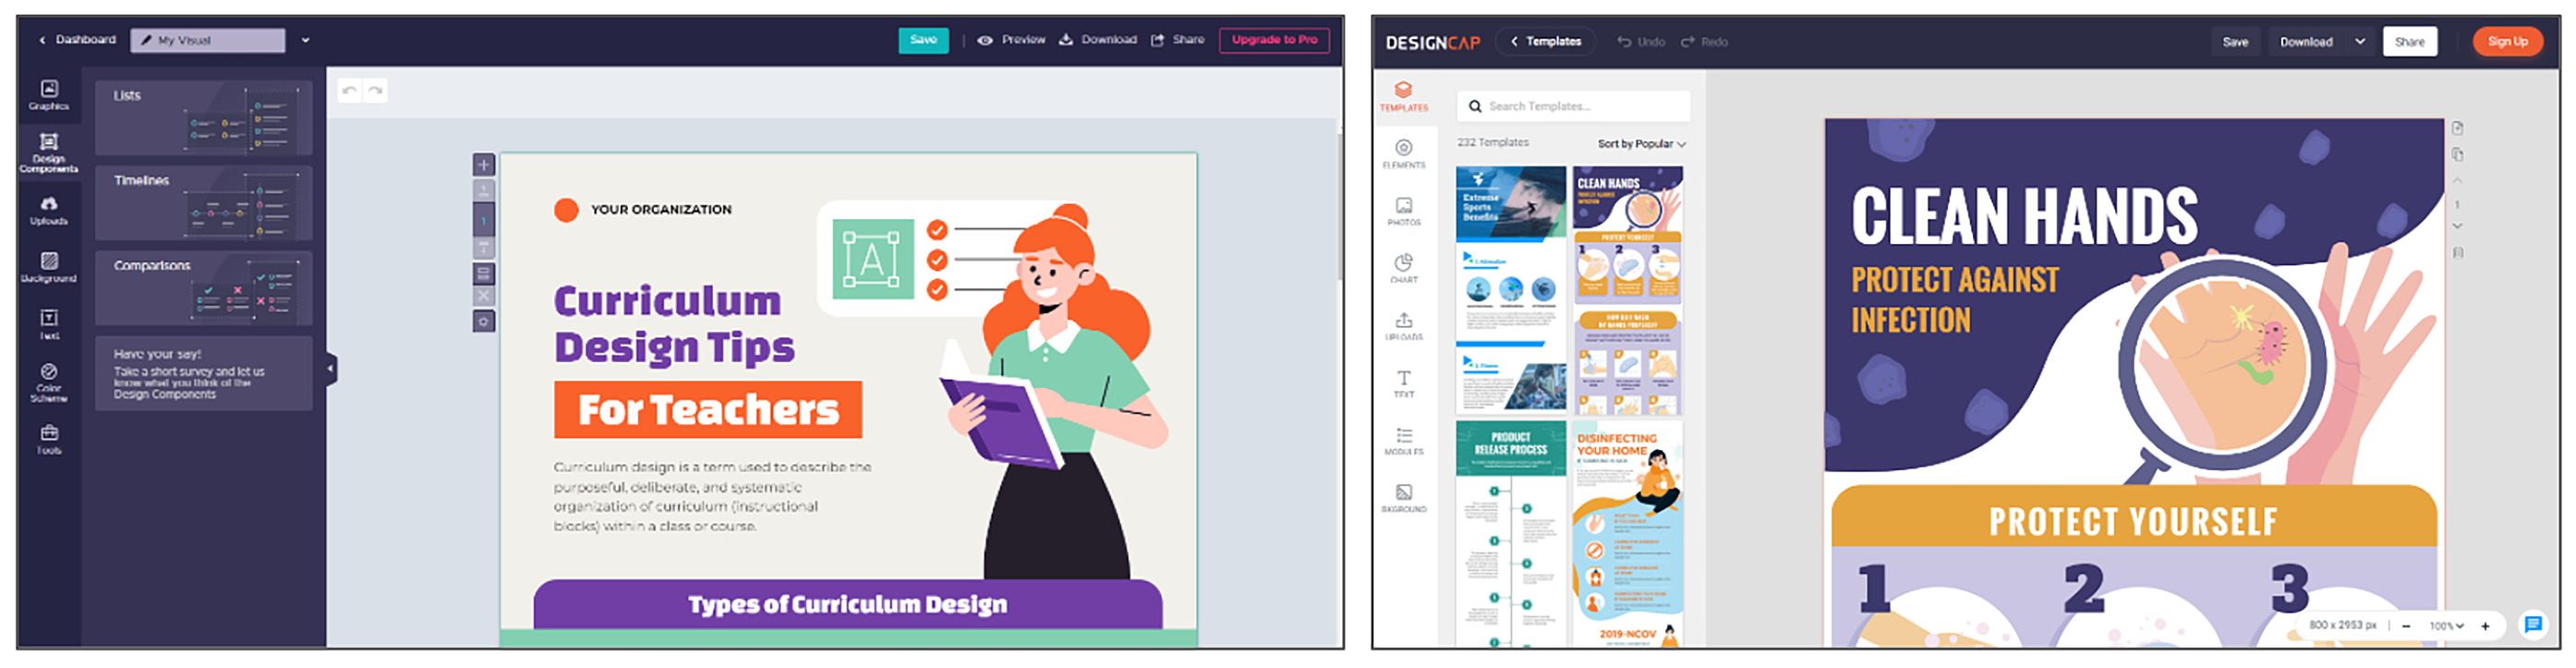
- DesignCap: Choose what you wish to create (infographic, chart, presentation, poster, flyer, logo, etc.). Then, choose a template or begin with a blank page. Add shapes and other design elements, photos, charts, text, backgrounds, and more. You can add smaller, premade design elements to your larger work.
- Easelly: This graphic design tool strives to make its interface easy to use. You can begin creating without an account, but you will need to create an account to save your work. Include graphics, text, backgrounds, charts, and videos. Use a template or start from scratch.
- Genially: Choose from many different categories, such as presentations, infographics, gamification, interactive image, blank creation, and more. Select a template or work with a blank canvas. This product is useful for creating interactive presentations with internal linking.
- Google Drawings or Google Slides: Use images, shapes, text, lines, and more to design. Change the canvas to a physical paper size if you wish to print your final creation. Drawings is ideal for creations that are confined to one page or that require a transparent background, while Slides allows for multiple pages in a single document as well as the insertion of video and audio.
- PicCollage: This iOS and Android app allows students to create a collage with photos, text, drawings, and stickers. This can be used by even the youngest learners.
- Piktochart: Create professional-looking infographics, posters, presentations, flyers, reports, and other visual documents. Use a template or start from scratch. Free accounts allow up to five active visuals at a time.
- PixTeller: Choose the photo editor or animation maker options. Create posters, videos, animated posts, cards, and social media images. Add shapes, text, images, drawings, and animations. An account is needed to create on this site.
- PosterMyWall: Create unlimited social media designs for free and upgrade if you wish to download high-resolution images of your creations. The site features many customized file sizes and templates, such as flyers, posters, social media graphics, digital signage, album covers, and logos. Stock photos are included. Add photos, shapes, text, media, various layouts, and backgrounds. Export your work as an embed, email, or download.
- Smore: Smore specializes in the creation of newsletters. They aim to make it quick and easy to design attractive products. Create three newsletters with the free version.
The photography industry has transitioned almost entirely to digital. Nearly all new cameras are digital, and very few images are published without first being processed in a digital editing program. Even the final display of images is often digital, especially when they are used for social media, advertising, and graphic design. While serious students will benefit from industry-standard software (which can be expensive), there are many free (or low cost) alternatives that will meet the needs of most students.
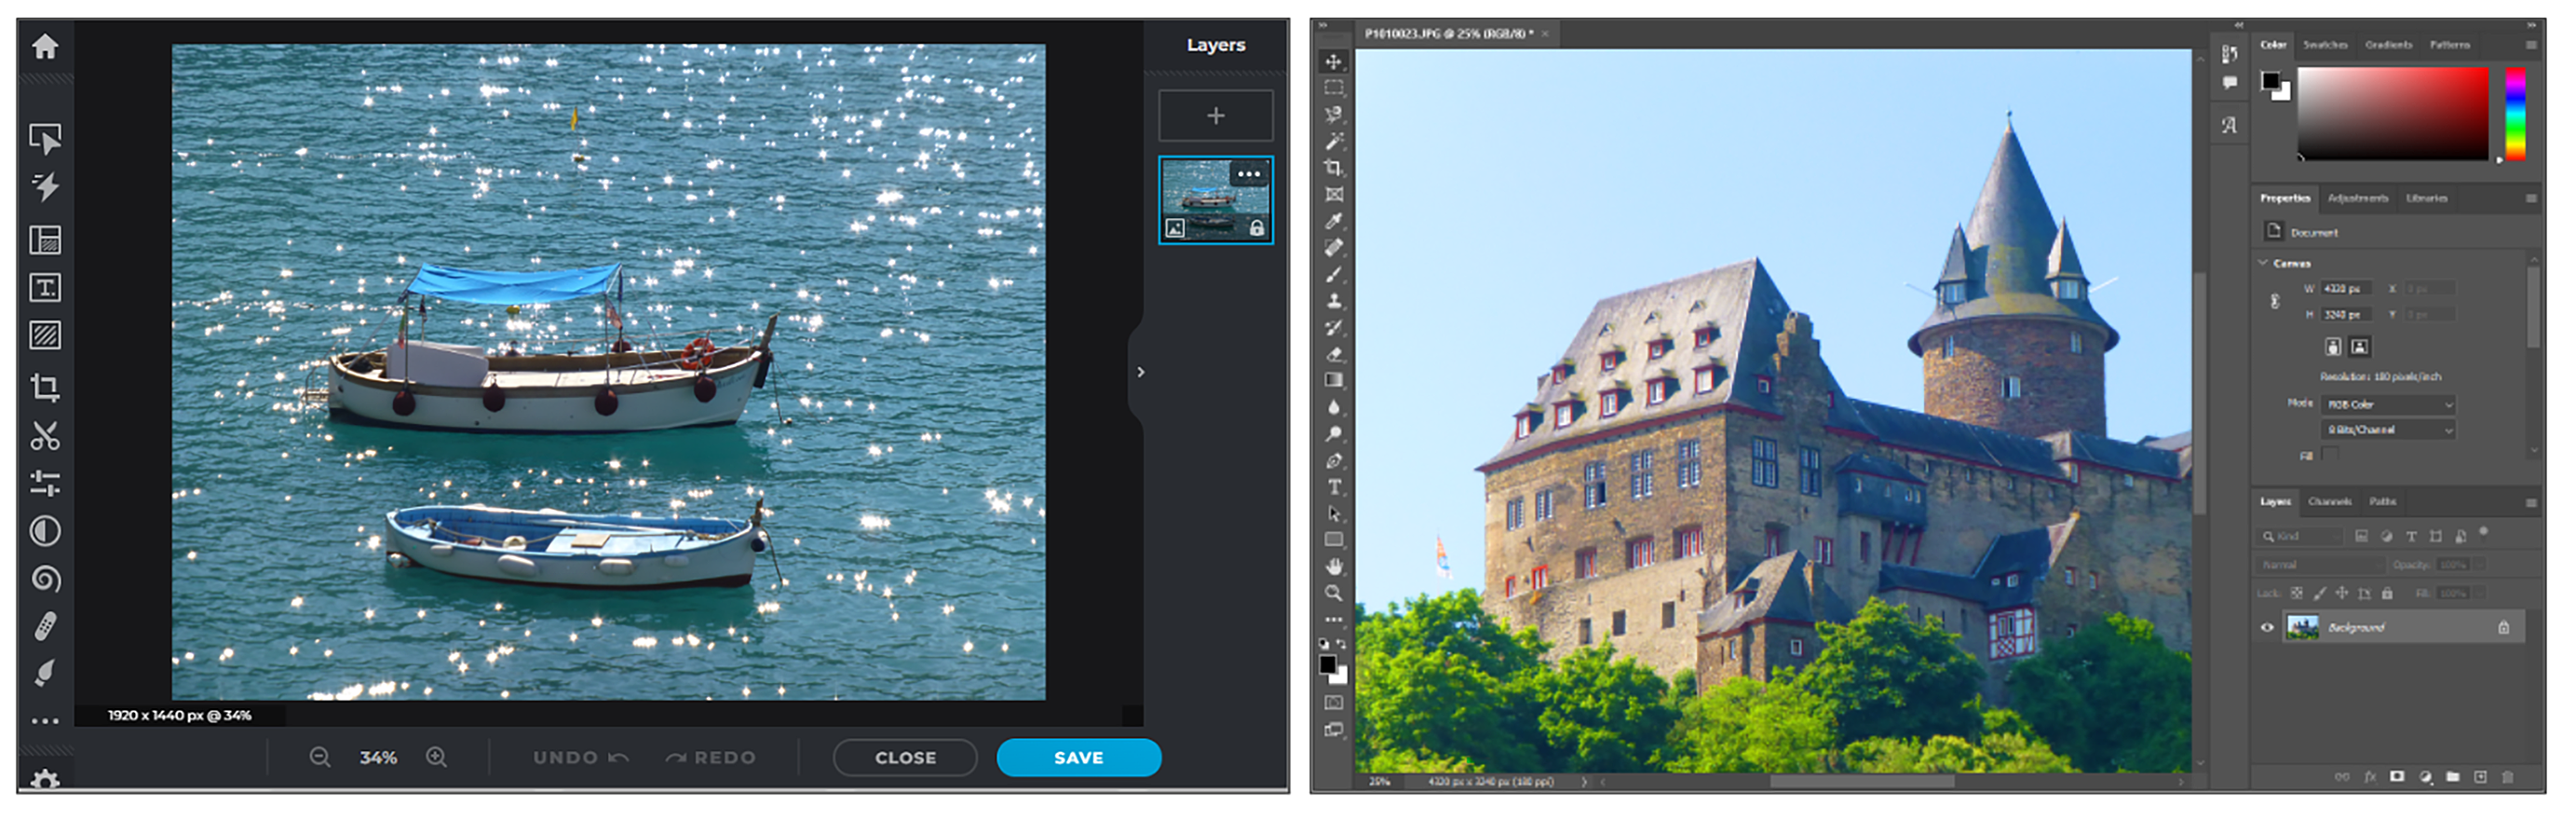
- Adobe Photoshop: This is the gold standard used by professionals for image editing, but it’s also one of the most expensive image editing options. A monthly subscription fee is required. If your students have access to this tool, it is a powerful choice and provides experience with the tool used by most industry professionals. A 7-day free trial is available.
- Camera: This Apple app is a great option if you’re using an iOS device. You can adjust light and color, apply filters, copy, and straighten your images.
- Chromebook Editor: Chromebooks have a free, integrated photo editor. To use this, you will need to download the image, and then double-click on it to launch the editor. This provides very basic editing tools, like cropping, brightness and contrast, and rotation.
- darktable: This is a free RAW image developer and photo editing alternative to Adobe Lightroom. It must be installed on a PC or Mac. RAW file formats allow for deeper and more complex image editing options.
- GIMP: This is a powerful, free, and open-source image editor. It must be downloaded to a computer with a GNU/Linus, MacOS, or Windows operating system. It is very similar to Adobe Photoshop and is widely used by graphic designers, photographers, and illustrators looking for a free editing option.
- LunaPic: This free and fun website allows you to quickly upload and edit images online. It features borders, filters, effects, art, and animation (making it work for creating GIFs, as well). No account is required.
- Adobe Photoshop Express: This is a simple, free photo editor available for Windows computers and iOS or Android mobile devices. Upload an image, resize, crop, straighten, touch up, adjust, remove background, or add effects.
- Photopea: This photo editing and drawing tool is similar to Pixlr and Photoshop. The free version includes all functionality but is ad-based. It allows editing of Photoshop, PDF, RAW, GIMP, and multiple other file types.
- Photos: This Apple app allows you to edit any image that is saved to your iPad, with basic options like crop, rotate, adjust, and filter.
- Pixlr (Tips): This is an excellent option if you are looking for an image editor that is comparable to Adobe Photoshop. Not only is the interface designed in striking similarity to Photoshop, but it is free and available online. Use it to edit, enhance, and transform your photos. There are two versions available: Pixlr X (quick and easy photo editor and template designer) and Pixlr E (advanced photo editor and design maker). Choose a template or edit from scratch. No account is required.
- remove.bg: This tool removes the background from an image. This works best when there is clear contrast between subject and background. This can be helpful if students are creating collages of images or creating composites of several images.
While these sites are not creation tools, they do help students make better use of color in the programs they are using. Many of these resources are available in print, as well, but the digital versions typically offer increased functionality, interactivity, and a dynamic interface that students find both engaging and informative.
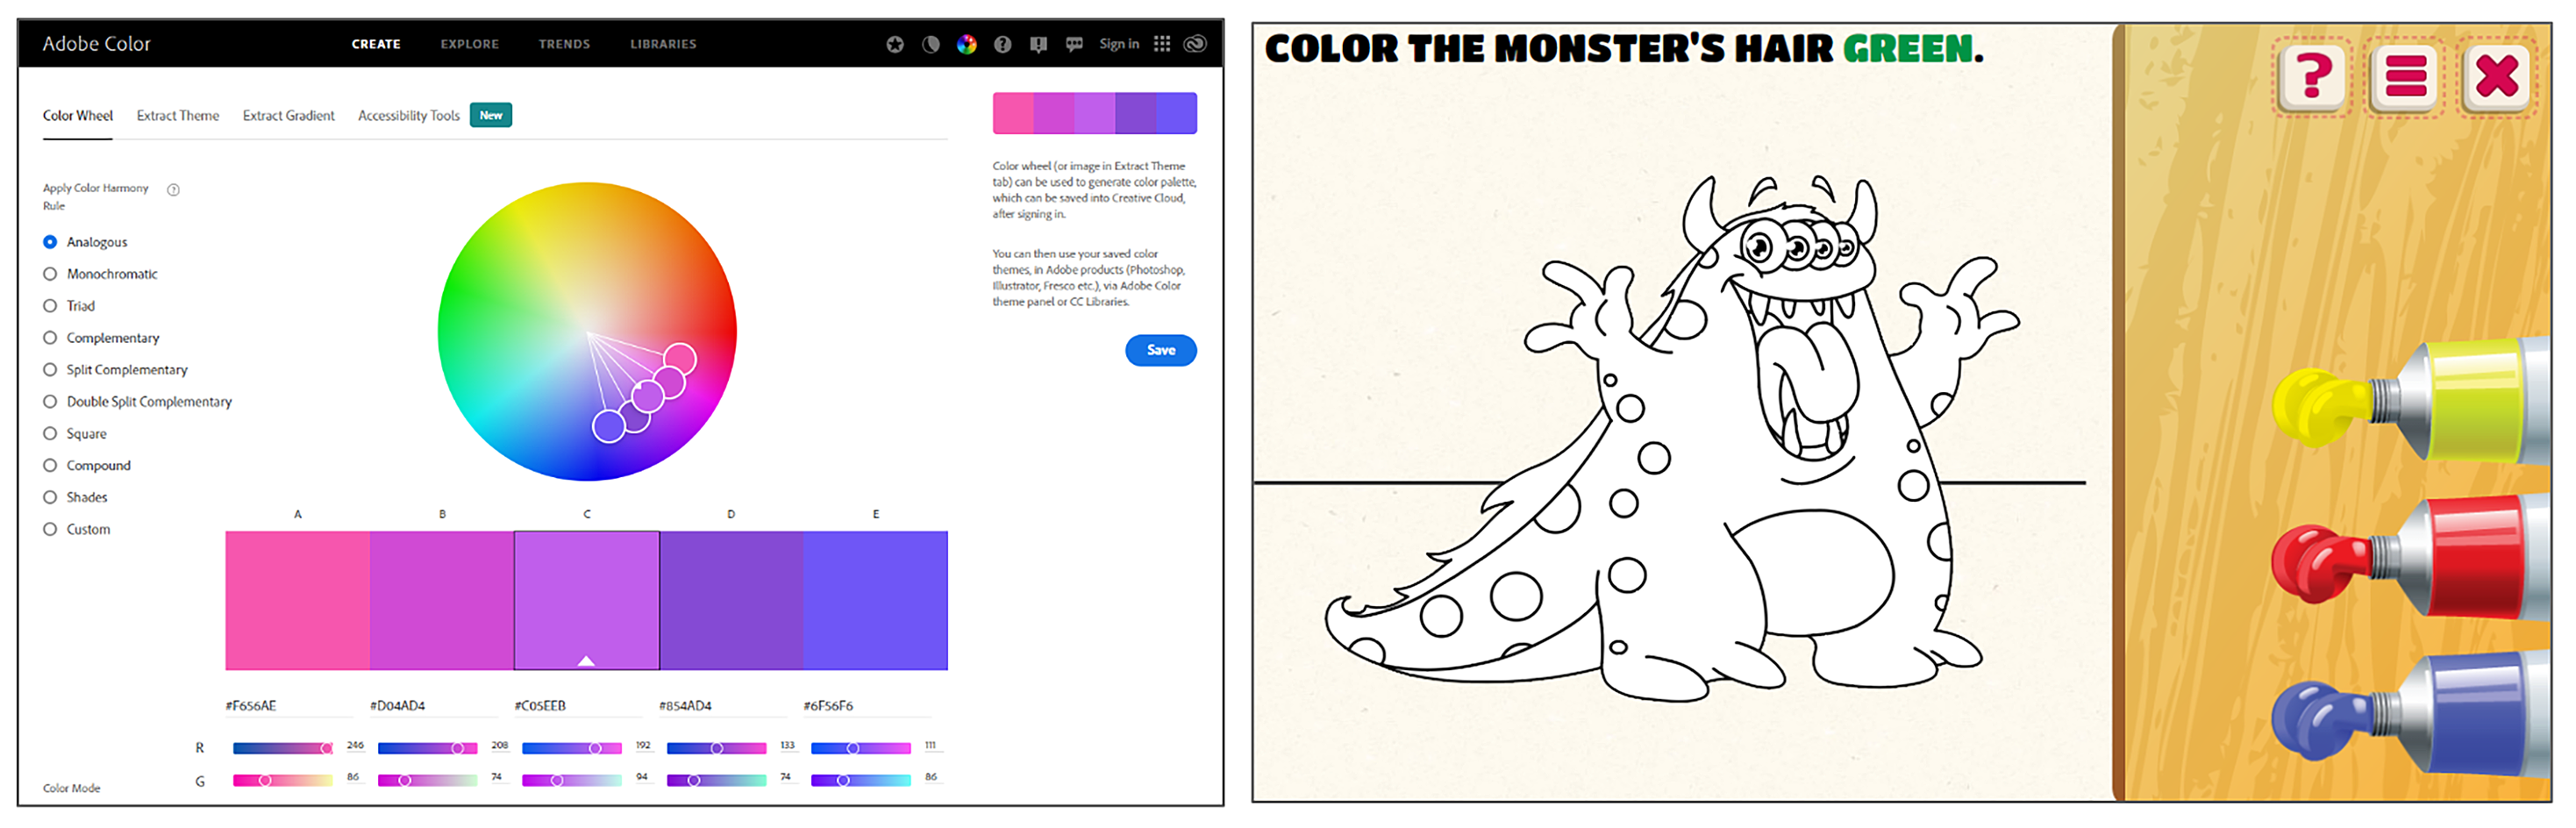
- Adobe Color: This site contains four interactive options. Use the interactive color wheel, extract a color from an image, extract a gradient from an image, or analyze the accessibility of colors you have chosen.
- Color Calculator: Choose a base color. Select a harmony and get suggested colors that work together to help you with design.
- Color Mixer: This virtual tool from ColorDesigner “allows users to blend two or more colors in different quantities and see the color that the mixture will result in after blending as well as the proportions and colors used to create it.”
- Color Mixing Game: This gamified site from Trycolors gives you a target color and then challenges you to match the color by mixing colors together. Play in three different modes: easy, normal, or hard.
- Color Wheel: Canva offers this virtual color wheel. Pick a color to get the hex color code. Combine colors in different modes (complementary, monochromatic, analogous, and more). Explore color combinations as a graphic or palette.
- Creating Colors: This PBS LearningMedia activity teaches younger learners about primary colors and mixing them to create new colors. Through this interactive site, students learn about colors, mix them together, and actively color black-and-white pictures to apply their learning.
- Golden Color Mixer: Use this virtual paint mixer to choose, mix, and create new colors.
- Paint Mixer: This site by Appy Pie allows you to virtually blend paint colors to create new tones.
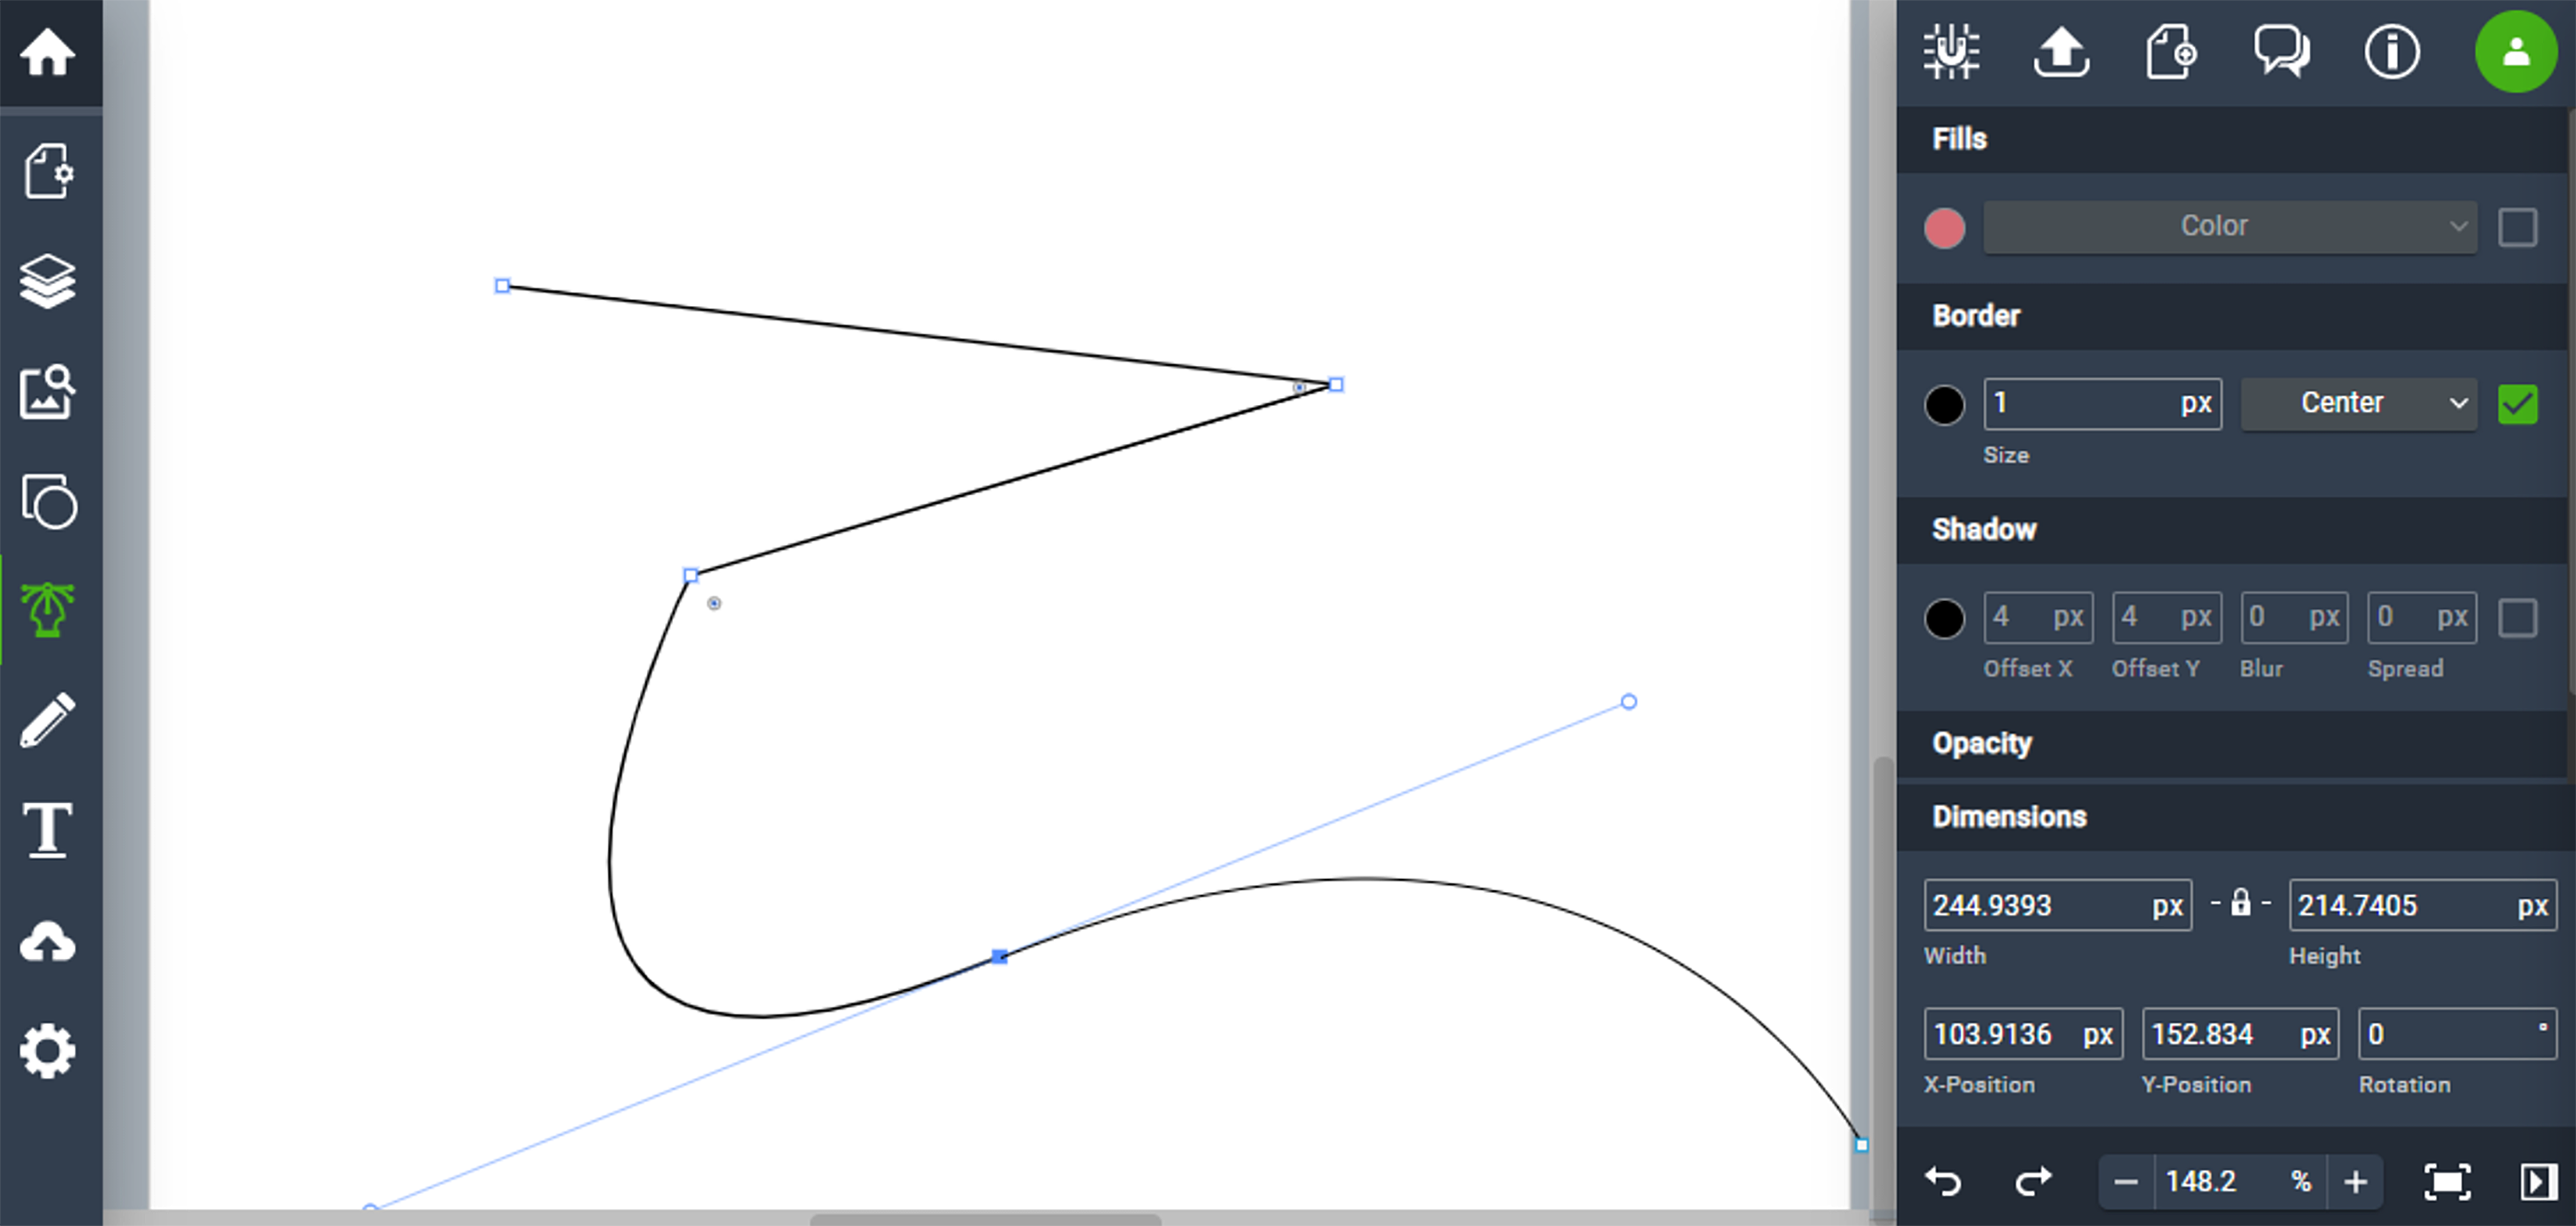
Vector graphics are ideal for creating images that need to be scaled without loss of quality. Artists use points, lines, and shapes to create these mathematically scalable images. Vector graphic tools are very useful in graphic design. One common use is the creation of logos or icons.
- Adobe Illustrator: This sophisticated Adobe product is considered an industry-standard tool. It is available for a monthly fee and is a great choice for serious students. Start from scratch or choose a template.
- Figma: This graphic design and vector graphics tool is available for Mac, Windows, Linux, and Google Chrome operating systems. Receive unlimited storage with the free plan.
- Gravit Designer: This web-based product is a worthy and cost-effective alternative to Adobe Illustrator. The free version is a great entry point and allows downloads to 150 dpi. The free plan also includes 500 MB of cloud storage.
- Vectr: This free vector graphics editor is web-based and compatible with most operating systems. It is best for simple vector graphics needs and features blur-free graphics without pixels. It also allows for real-time collaboration with a shared URL. Think of this as a simplified Adobe Illustrator with six basic tools. Import and export files as .jpg, .png, or .svg. Collaborate in real time with a shared link and even let friends watch as you create and edit your artwork.
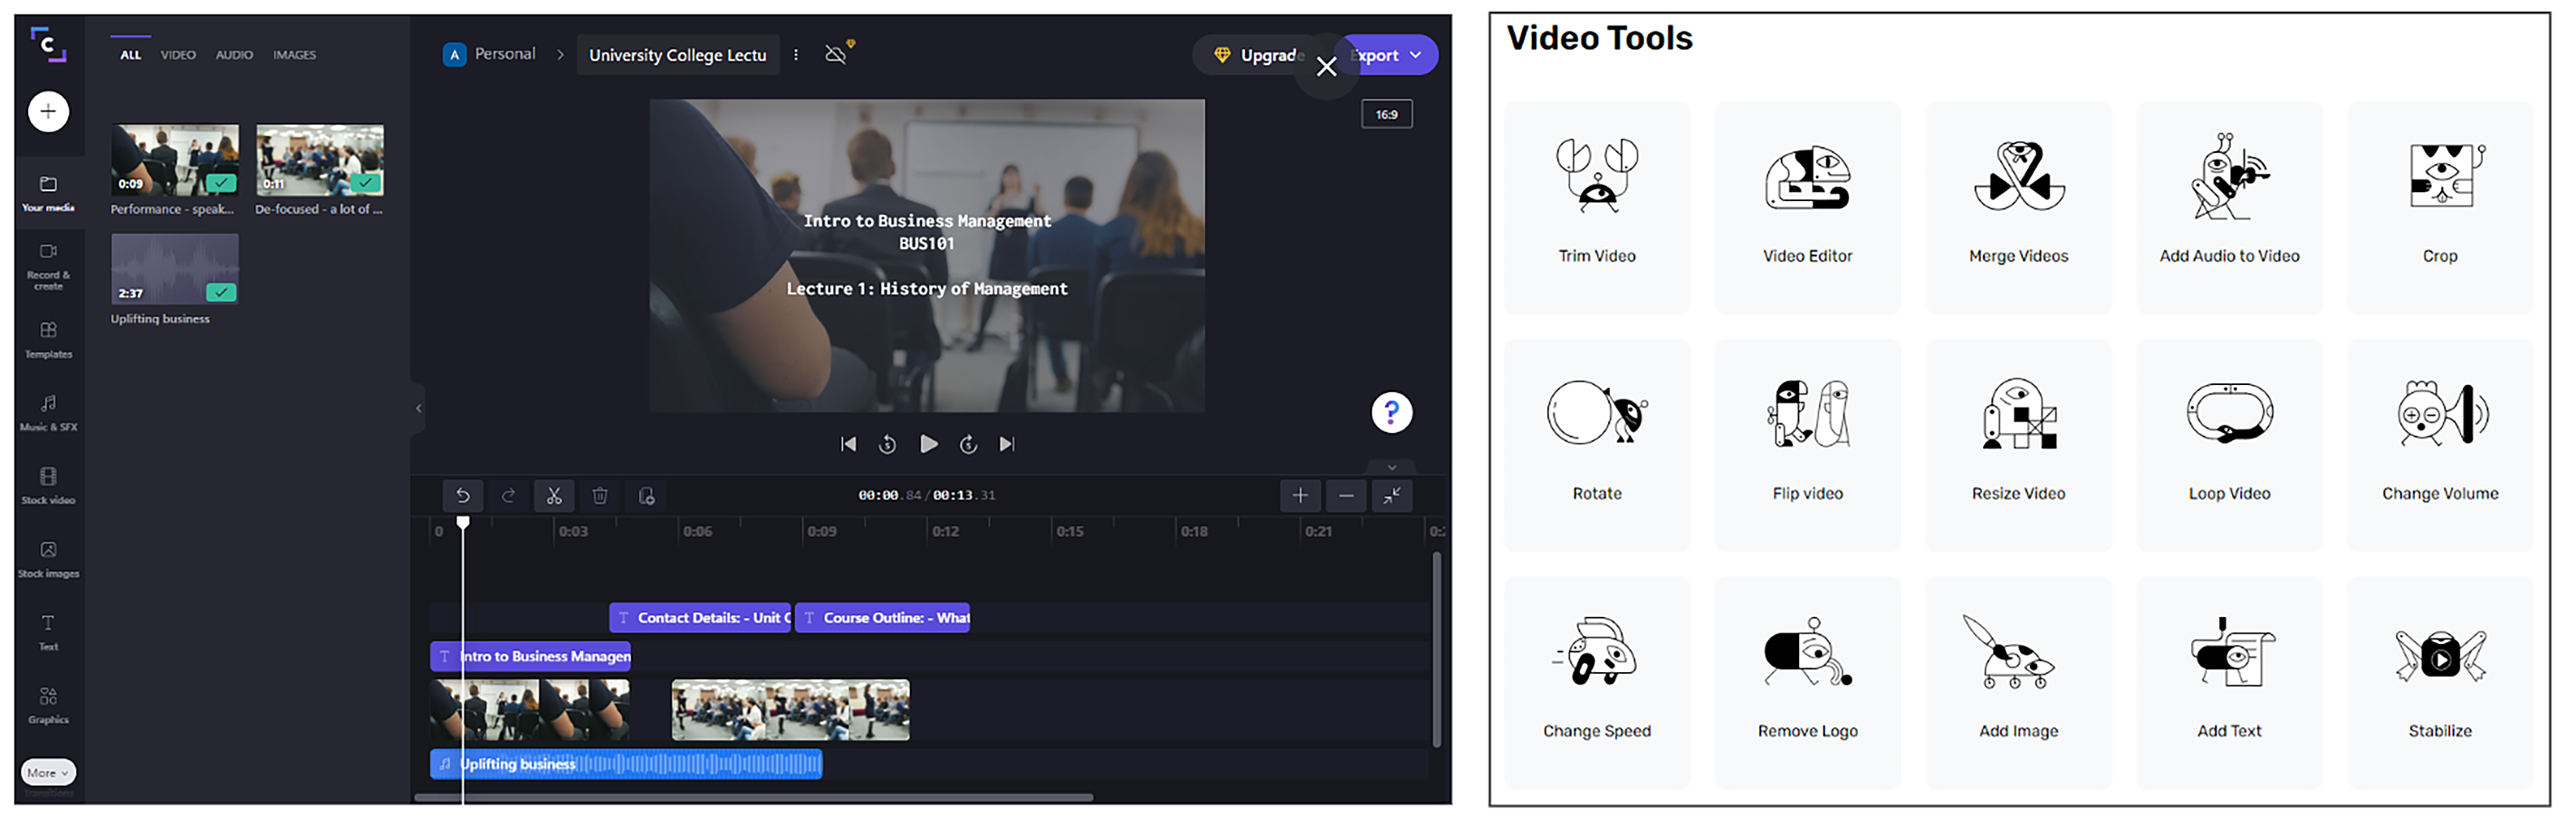
Video is a highly engaging medium for many students. They encounter it everywhere, from their smartphone to the big screen to a post on social media. In addition to being motivating to many students, video is also a great medium for combining multiple visual arts into one accessible final product. Students can bring drawings, paintings, animations, graphic designs, and more into their video project. In addition to a camera to capture the video, a key tool in this process is some sort of video production software. The tools on the following list are great options for students to get started in this area of visual arts. While there are many professional options available that require a purchase, we’ve chosen options that have some degree of free access to get you started. Even though they are free, these tools introduce the essential concepts and skills needed to produce quality video in nearly every editing suite that students might use later—even the most expensive.
- Biteable: Create videos from templates or from scratch. Biteable includes 2 million video clips and images with the free plan. This is a nice option if you want students to skip the recording step and begin designing more quickly. Videos finished in the free version of this program include a Biteable watermark.
- Clipchamp (Tips): The free editor is quite robust, and it allows editing of video, image, and audio files, with the ability to add subtitles, filters, and visual effects, like slow motion. With the free version, you can record webcam videos up to 5 minutes in length and export finished videos up to 480p (standard definition).
- iMotion: iMotion is a time-lapse and stop-motion Apple app for iOS devices. It’s a free download with in-app purchases. There are numerous other apps available for both Android and iOS devices for creating videos with special effects, like stop-motion or green screen production. Search the App Store for ideas.
- iMovie: iMovie is a full-featured video editing program from Apple. There are versions for both Mac and mobile iOS devices. If you have an Apple device, this is likely your best option since it is both powerful and free to Apple users.
- Kapwing: The free Kapwing editor allows access to all Kapwing tools and projects up to 7 minutes long. Content stores on the site for 2 days, so this is best for quick projects. Final videos are public and can be downloaded. Kapwing offers a wide gallery of video tools beyond their editing studio (meme generator, subtitler, video resizer, etc.).
- Seesaw (Tips): While students cannot edit the video they capture in Seesaw, it is an easy and accessible way for the youngest students to be introduced to recording video. Students can either upload to Seesaw from the camera roll or record directly in the Seesaw app.
- Unscreen: This is a handy tool for removing background from a video. It is easy, free, and does not require an account. This is ideal for layering video and creating a green screen effect, without using a physical green screen for recording.
- Web Apps by 123apps: This suite of tools is a great add-on resource to your video editing solution. The collection includes tools for trimming, editing, merging, rotating, flipping, changing speed, and more.
- WeVideo (Tips): WeVideo is a powerful online video editing solution, and it is one of the most popular options for students using Google Chromebooks. With the free plan, you can export up to 5 minutes of video per month. Free videos include a WeVideo watermark when exported.
There are multiple free options for introducing students to the world of web design. This creation experience allows them to integrate visual art skills from numerous areas into one accessible online platform.
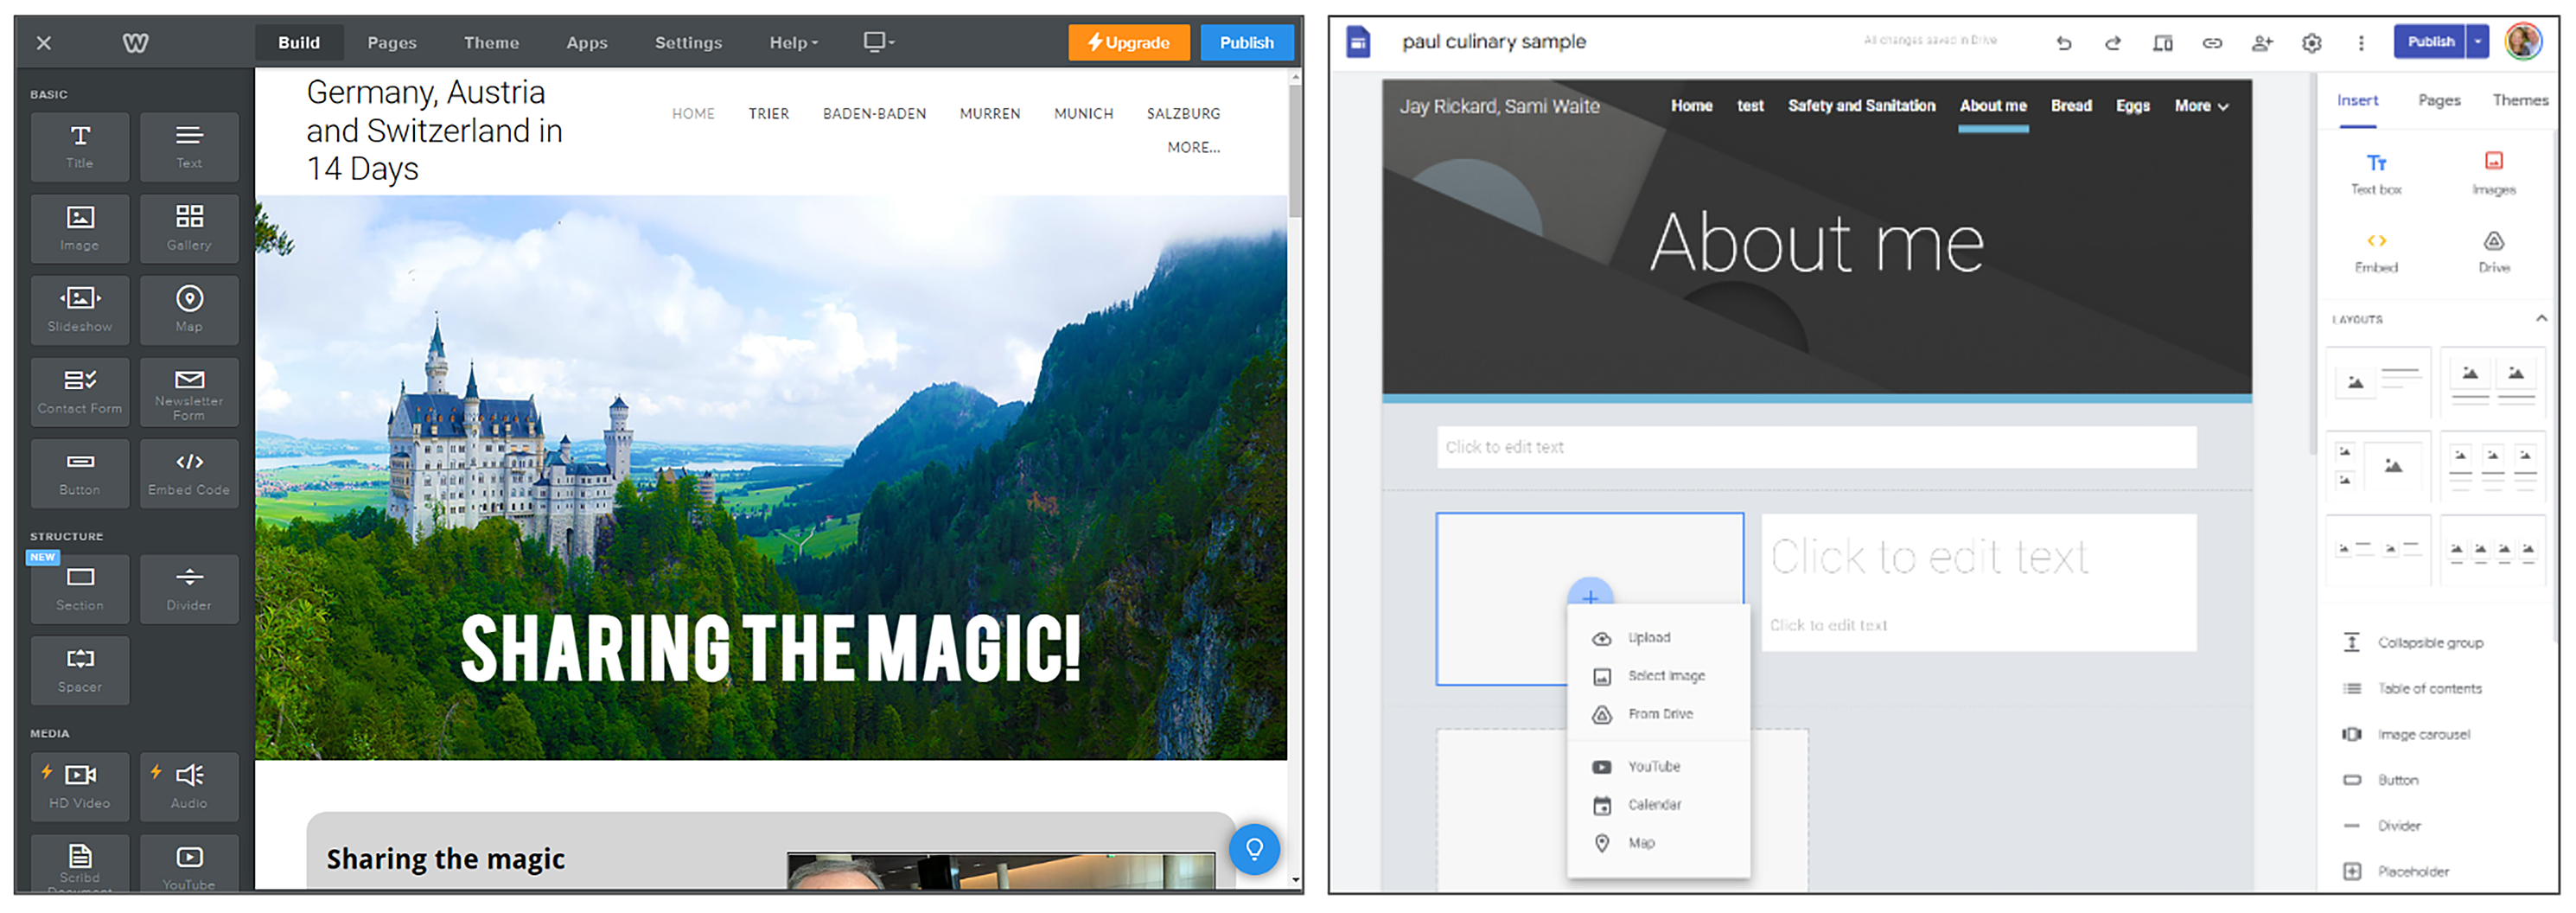
- Google Sites (Tips): This is an ideal starting point for students working in the Google ecosystem. The program is robust and accessible for students of all ages. Teachers can choose to have students publish globally or just within their school domain. Sites can also be created collaboratively.
- Weebly: This is a freemium product requiring a subscription to access advanced features. However, the free version will meet nearly every classroom need. Students must be 13 years or older since an account is required.
- Wix: This product is very similar to Weebly and offers basic tools for free. It’s a nice option for accessing additional templates. Once again, students must be 13 years or older to set up the required account.
Extend Your Learning
- 15 Types of Digital Art to Consider (Architecture Lab)
- Top 15 Free and Open-Source Fashion Design Software for Beginners (Techjockey)
- Doodle Yourself With Google Drawing (ptrsnja on YouTube)
- Apps for Making Art (Common Sense Media)
- Best iPad Drawing Apps for Every Skill Level (CNET)