Students love video. Not only are they drawn to watching videos on their favorite social media platforms, but they have become content creators themselves. While we can debate the merits of social media and related media consumption, there are some major benefits to student development when they become content creators.
Creating a video, if it’s done with someone else, fosters the 4 Cs: critical thinking, creativity, communication, and collaboration. These are four durable skills that will benefit our students in whatever career they choose to pursue. When we facilitate collaborative video creation in our classrooms that is targeted at our academic standards, we not only help students meet the related objectives, but we do it in a way that’s empowering and motivating.
Google Vids is a new product in a long line of video production solutions. For those who have access to it—currently Google Workspace for Education Plus, Business, and Enterprise users—this can be a convenient and accessible video editing choice for you and your students. You’ll need to check with your tech department to see what you have available to you. For those educators who do not have access to this specific tool, you’ll need to access one of the many other video editing programs that are available—such as Seesaw, WeVideo, and iMovie—to engage your students.
What Is Google Vids?
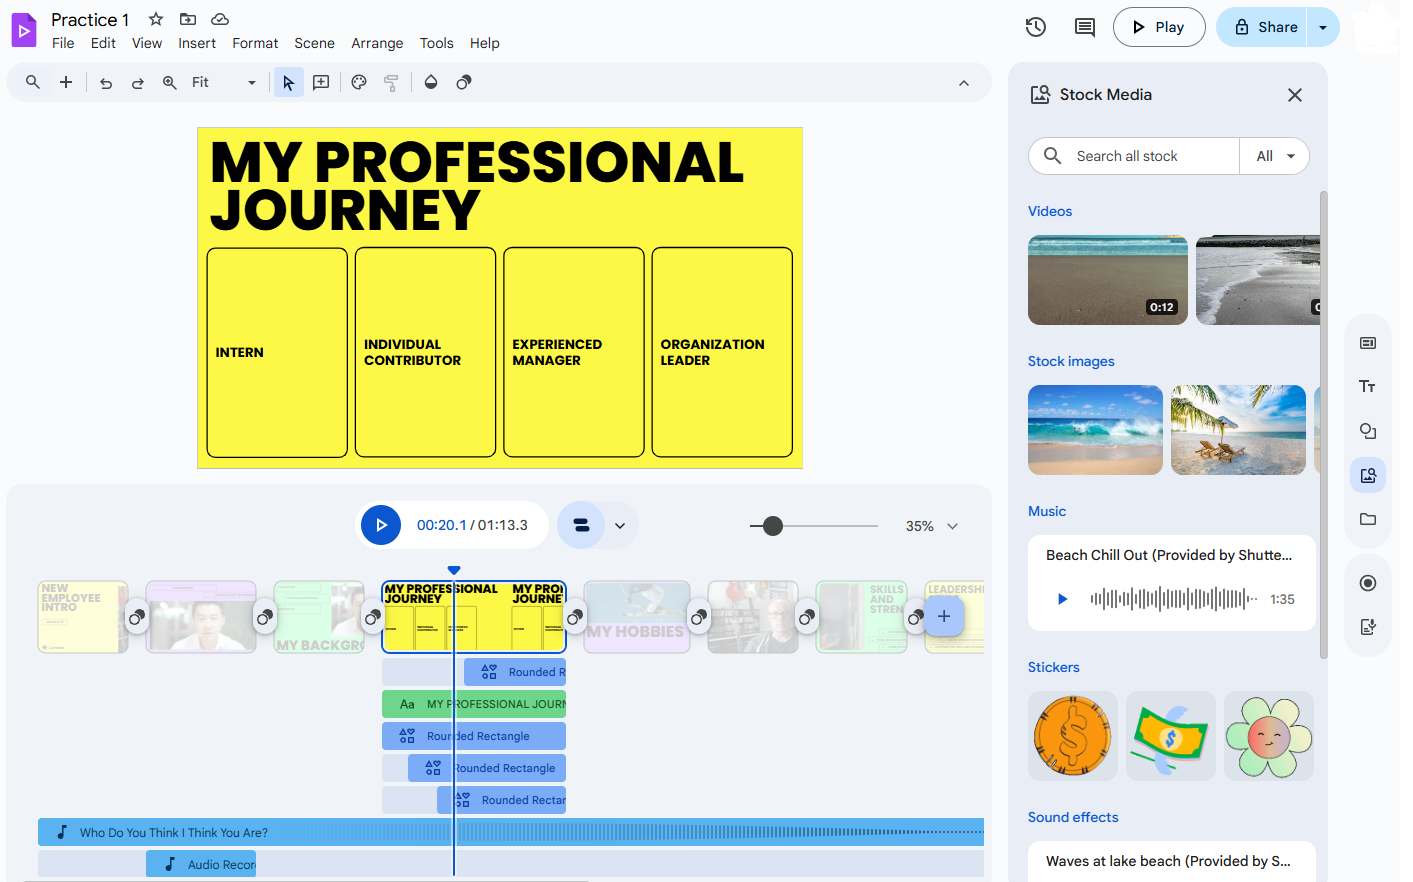
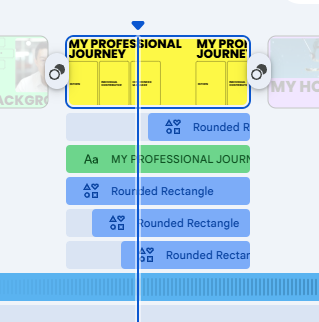
Google Vids a simple yet powerful video creation tool that looks a lot like Google Slides. In fact, at first glance, you might think that you’re creating a slideshow. Across the bottom of the workspace is a series of tiles, which are called scenes, rather than slides. At the top of the workspace is the same basic tools menu that you’ll find in almost every Google tool, with tabbed options for File, Edit, View, Insert, Format, Arrange, Tools, and Help. The only new option here is Scene, which makes sense, as you will be creating scenes in your video.
Features
Templates
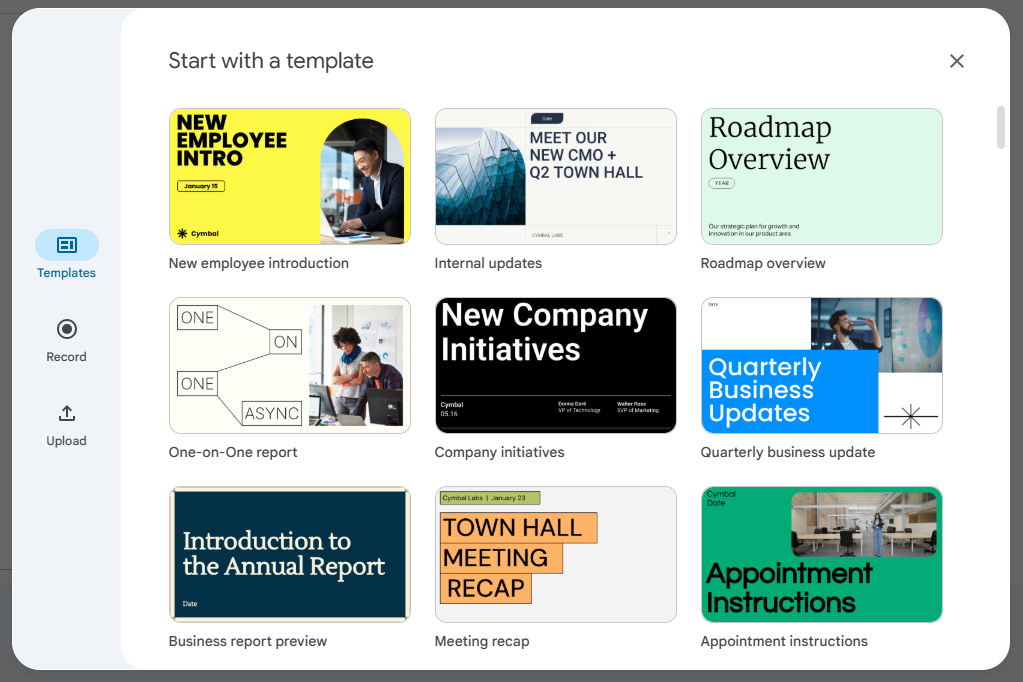
You can keep things really simple by selecting one of the available templates. These come preloaded with animated text, shapes, graphics, video placeholders, music, and transitions.
Once you’ve selected your template, you can edit any of the elements to make it align with your unique content. You can change the text, replace the video, add images, revise the design elements, swap out the music, and add your own voice narration. With all of these options available to you, the beauty of the template is that it gives you a starting point.
In-App Recording
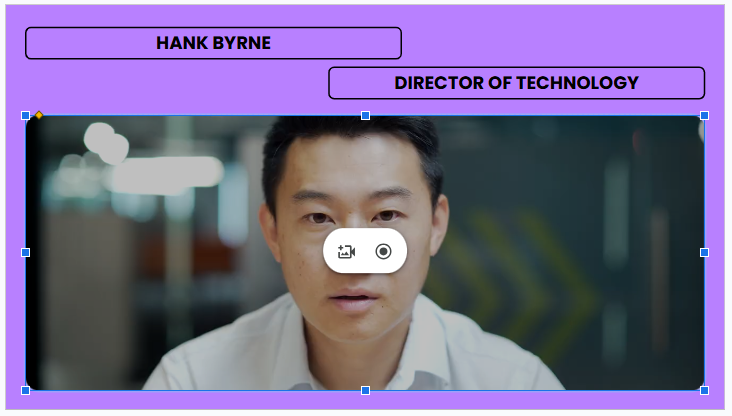
While you are able to import video and audio that you’ve recorded or pulled in from another source, Google Vids also makes it really easy to record new media right within the app. Just click the record icon that appears on the image to bring up the in-app recorder. From there, you can record yourself speaking by using your webcam. You can also choose to record the camera and screen or just your voice and the screen if that’s what you prefer. There’s an option to blur your background, and when you’re finished, just click the stop button.
Another great feature allows you to type up your script while having it appear on your screen as you record. It’s like having a built-in teleprompter.
Production Assets
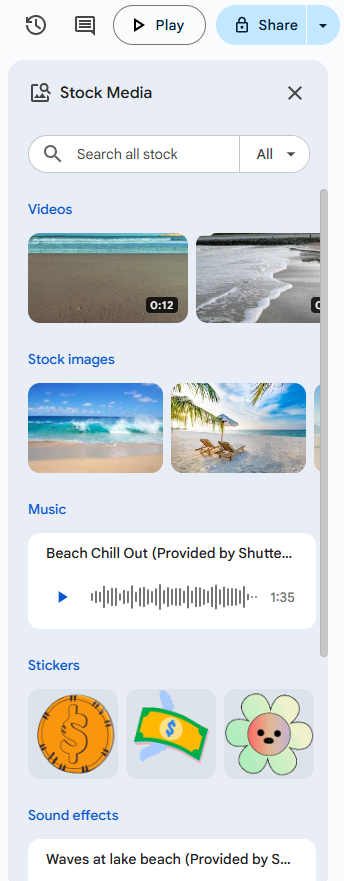
There are lots of production assets that are readily available to add to your video. Specifically, you can choose from professionally designed layouts and templates to use as provided or as a starting point.
You can also bring in a wide variety of design shapes to give your scenes a nice visual appeal. Those shapes can even be used to contain your video clips, so the frame of your video is in the shape of the object that you added. It makes the scene look really professional.
In addition, there is an available library of stock music and video clips for you to use in your production. That’s really helpful if you are planning to share out your creation with an audience, where copyright and fair use are always important considerations.
Easy Editing
From the point of creation to the editing process, Google Vids is quite intuitive. If you want a clip to be longer, you just grab the edge of the frame and drag it longer. If you want the on-screen assets to transition into or out of the frame at different times, that’s easy as well. All the assets appear on the timeline below the scene. Grab the edge of any asset—like a video that will play, text that will enter, or an image that will appear—and drag it to the location and duration that you desire. This drag-and-drop functionality offers a high ease of use.
Sharing and Production
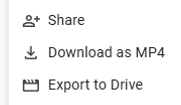
Once you have completed your work, you have a couple options. You can share the project with another Google account, much like you’d share any Google product. Even if they don’t have the Plus version, they should have access to edit and contribute to your project. When all the edits are complete, you can download the finished video as an MP4 file or export it to your Google Drive.
Integration Ideas
Included below are several ideas of ways to integrate this tool for different grade levels of students. Of course, you know your class best, so feel free to customize these ideas with your students in a way that seems most appropriate to your unique teaching environment.
Elementary School (Grades K–5):
-
- Book Trailers: To encourage comprehension and creativity, after reading a story, students can create short videos summarizing the plot, introducing main characters, and sharing their favorite parts.
- Science Experiment Demonstrations: Students record simple experiments, explaining each step and observing outcomes to foster scientific thinking and communication skills.
Middle School (Grades 6–8):
-
- Historical Reenactments: Learners reenact significant historical events or speeches, deepening their understanding of history through research and performance.
- How-to Tutorials: Students produce instructional videos on topics of interest, such as cooking a recipe or demonstrating a craft, to enhance organizational and presentation abilities.
High School (Grades 9–12):
-
- Documentary Projects: Students investigate and document social issues or community stories, developing research skills and social awareness.
- Video Essays: To promote critical thinking and media literacy, learners create analytical videos on literary works or historical events and incorporate multimedia elements to support their arguments.
By utilizing Google Vids or other video production tools, students can develop digital literacy, creativity, and subject-specific knowledge, helping to further prepare them in their academic and professional journeys.
AVID Connections
This resource connects with the following components of the AVID College and Career Readiness Framework:
- Instruction
- Relational Capacity
- Rigorous Academic Preparedness
- Opportunity Knowledge
- Student Agency
- Break Down Barriers
Extend Your Learning
- Google Vids: What Happens When Google Slides Meets a Video Editor? (Teacher’s Tech via YouTube)
- Creating Engaging Video with Google Vids (Google Cloud Skills Boost)
- Google Vids Help Center (Google Docs Editors Help)