To facilitate student engagement, you need to create a safe environment for your students and effectively manage the various features available to you as the host. Most video conferencing software offers host controls that give you options for setting up your desired learning space. Consider how you will use these settings to establish your virtual classroom.
Six Tips for Managing Your Video Meeting
- Meeting Access: Explore the settings to determine who can join your meeting, when they can they join, and which features they can use. For example, Zoom allows hosts to determine who can enter the meet as well as if they will be allowed to share their screen, chat, and rename themselves. Similarly, the enterprise version of Google Meet allows host controls for controlled access to the meeting and the ability to turn screen sharing and chat access on or off. Many platforms also allow you to mute participants’ cameras and/or microphones.

This image illustrates the security and host controls for Zoom (left), the Enterprise Version of Google Meet (center), and Microsoft Teams Meetings (right).
- Layout View: Find the layout setting that allows you to see as many students as possible. This will allow you to better monitor understanding through facial expressions. While students may choose to turn off their cameras, you can at least see the faces of the students with cameras turned on. Google Meet, Zoom, and Microsoft Teams all support seeing up to 49 participants at once (though Zoom is currently limited to four at a time in its web view). As an added bonus, if you have access to a second monitor, you can put the content you are presenting on one screen, leaving even more real estate to see student faces on the other.
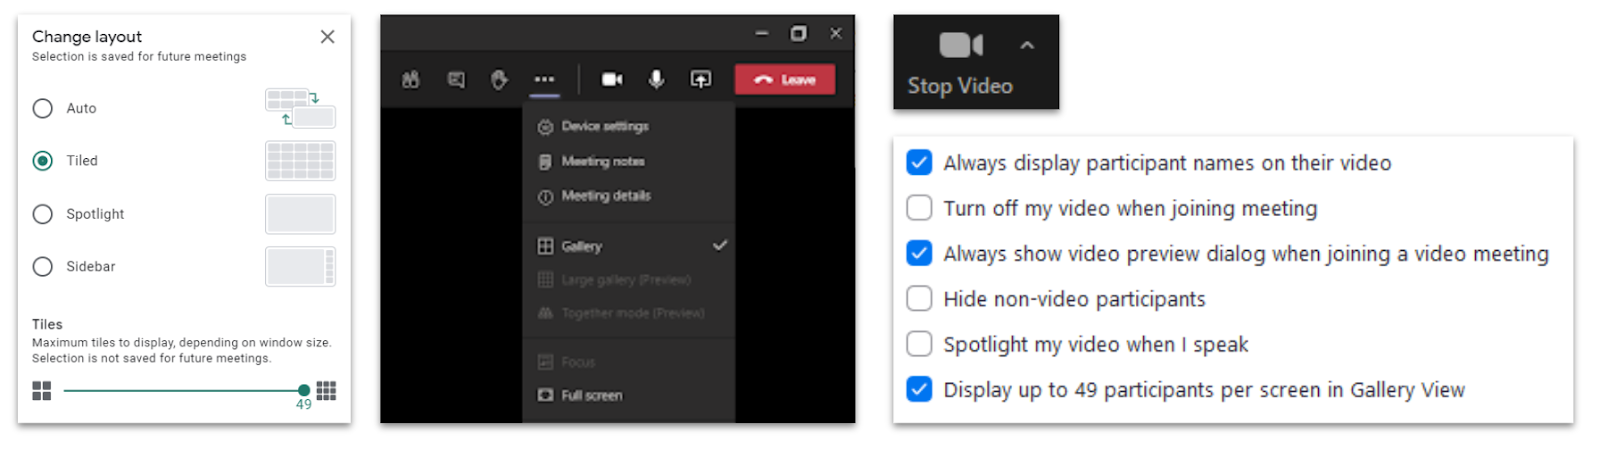
This image shows the current layout view options in Google Meet (left), Microsoft Teams (center), and Zoom (right).
- Backgrounds: Most conferencing software allows participants to either blur their background or replace it with a picture. This can preserve student privacy and eliminate background distractions, especially when they are joining from home. Some students may also prefer not to have others see their homes or family members.
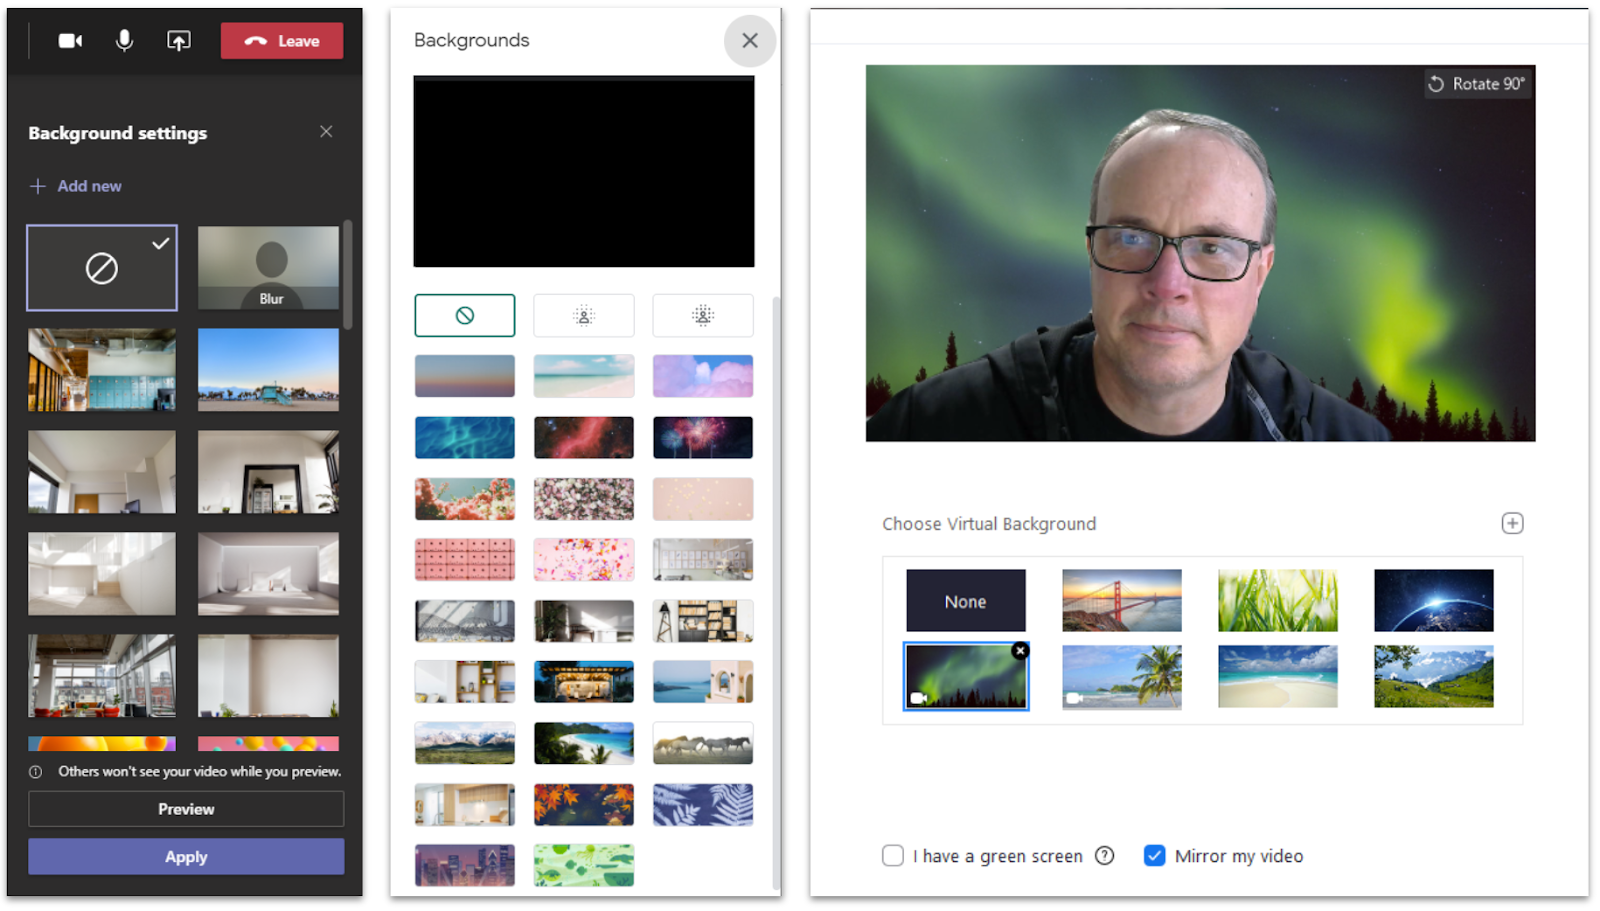
This image shows some of the background options in Teams (left), Meet (center), and Zoom (right).
- Closed Captions: This feature can be both essential and empowering for students with this accessibility need. Be sure to help students find and use these features if they are part of the platform.
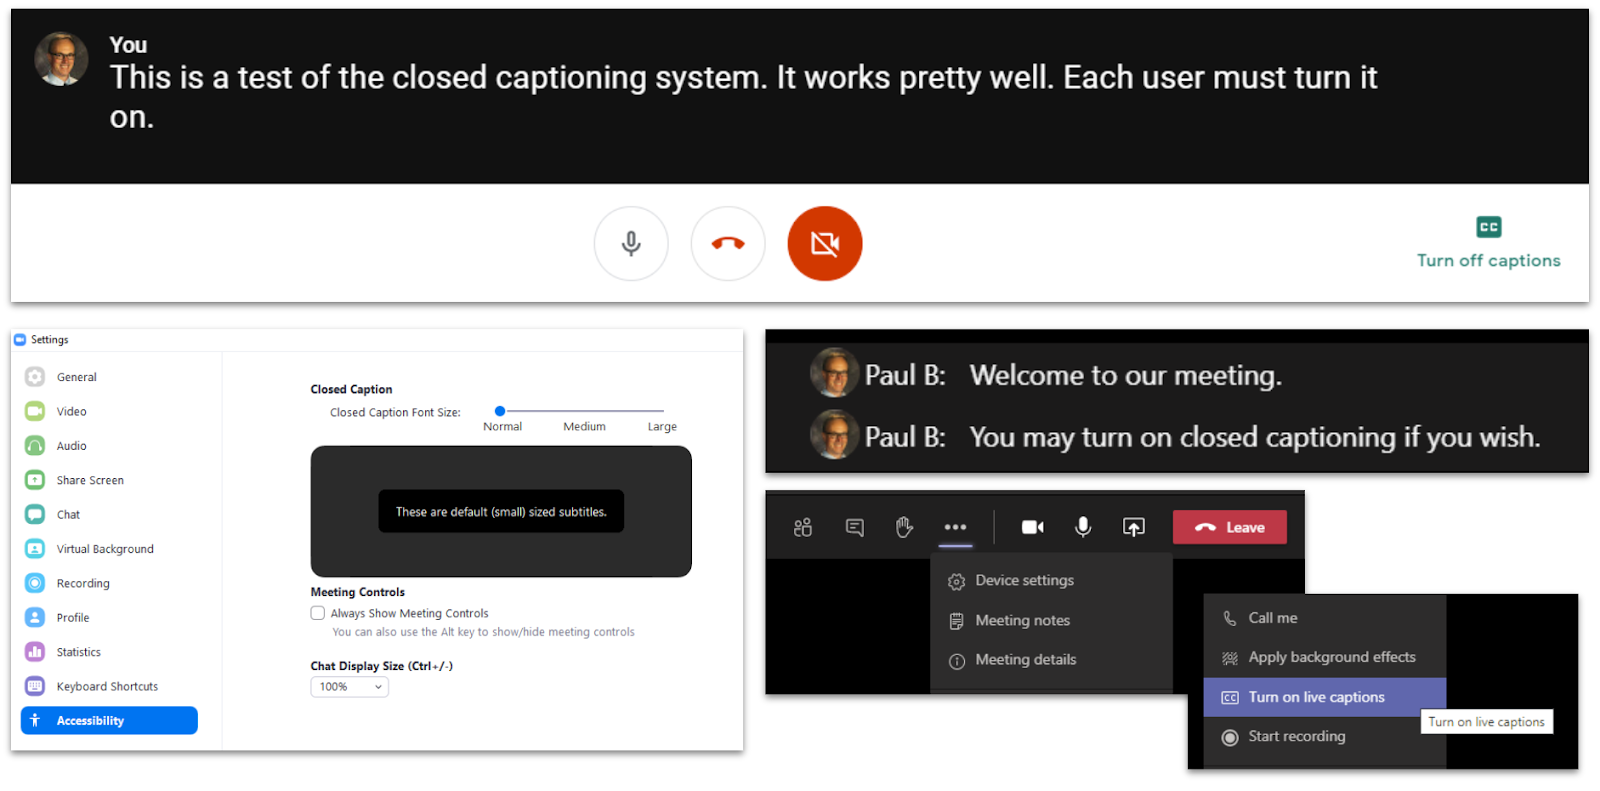
Google Meet (top), Zoom (bottom left), and Teams (bottom right) all have closed captioning integrated into their platforms.
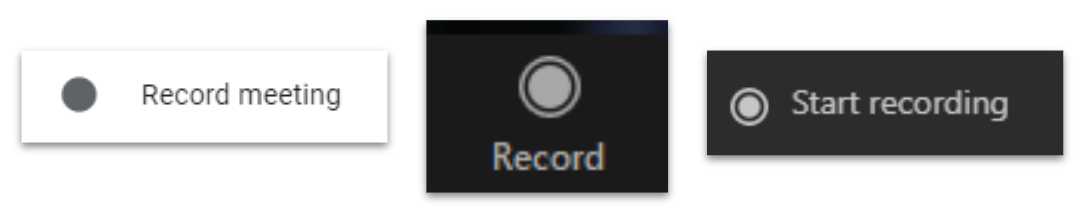
- Recording: Recording a session can provide more equitable access to your lesson for students who cannot attend in real-time. However, you will want to check with your local policies regarding recording of classes. If you are not allowed to record student faces and names, you might choose to use separate screencasting software to record only you and the screen containing the instructional materials.
- Attendance and Meeting Data: Most programs provide the host with attendance reports. These automated reports can save you valuable time during the meeting since you will not have to pause to take attendance while your students wait for you. It will also help you keep track of students who arrive late or leave early. Some reports even detail how long a student attended the meeting.
In addition to attendance reports, some programs allow you to save meeting data such as chat threads. Others will email reports including poll questions and Q & A responses. This can provide helpful formative data that can inform future lesson planning.
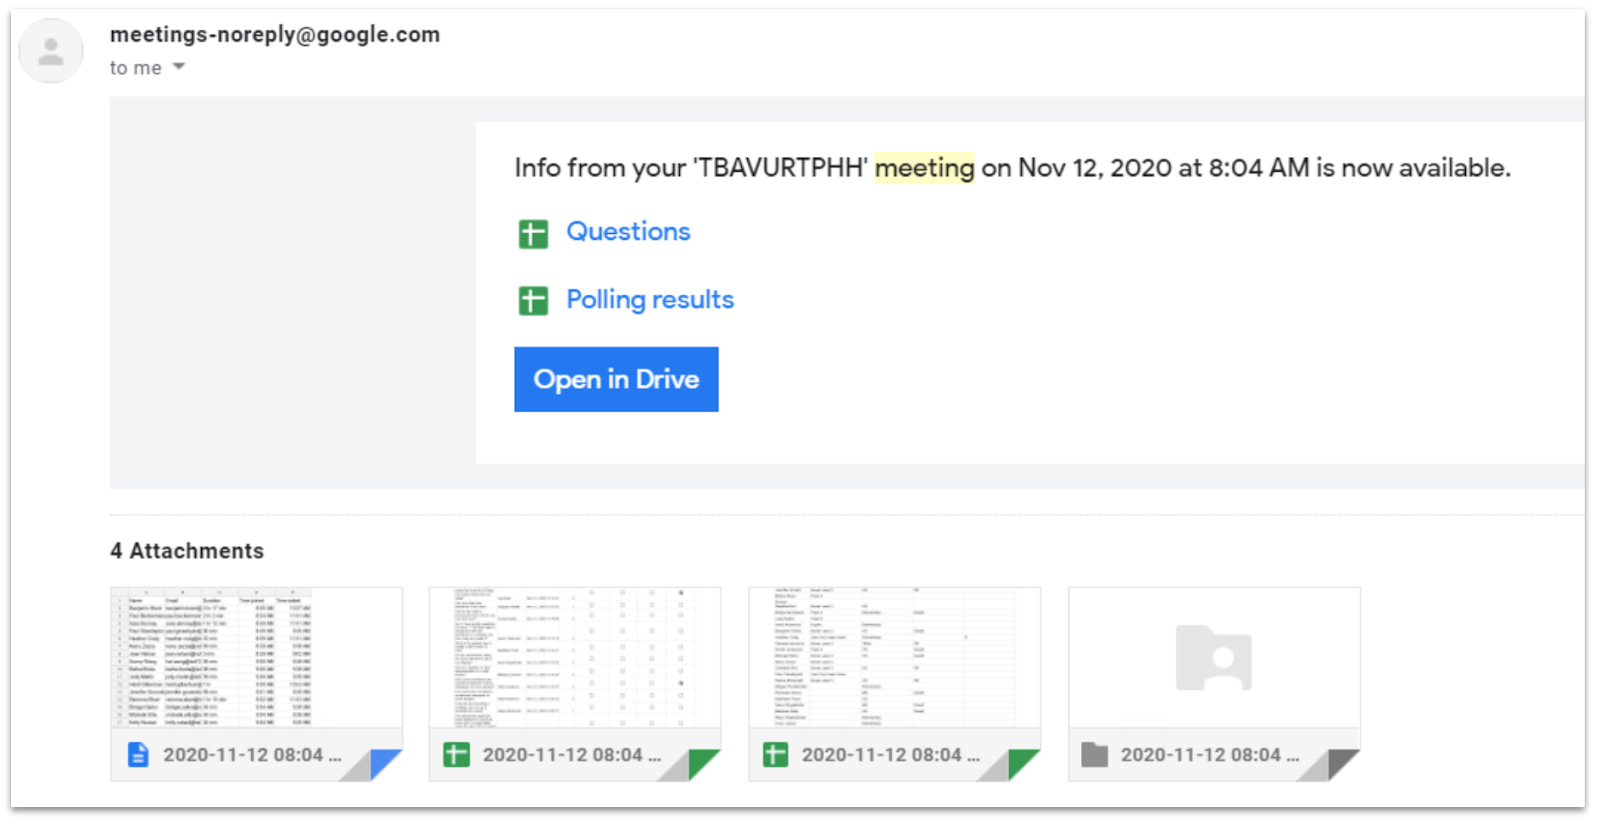
This screenshot shows a sample report from a Google Meeting.