Videoconferencing software is a cornerstone for many distance learning teachers. In a hybrid learning model, you will see your students in-person, so video meetings are less essential. Still, there may still be times that videoconferencing software can be helpful, especially if your students are split into A and B groups in a hybrid schedule. If used correctly, video meetings can effectively augment your core instructional methods, potentially reduce workload, and help to keep your A and B students more connected to each other.
Live, Remote Learning
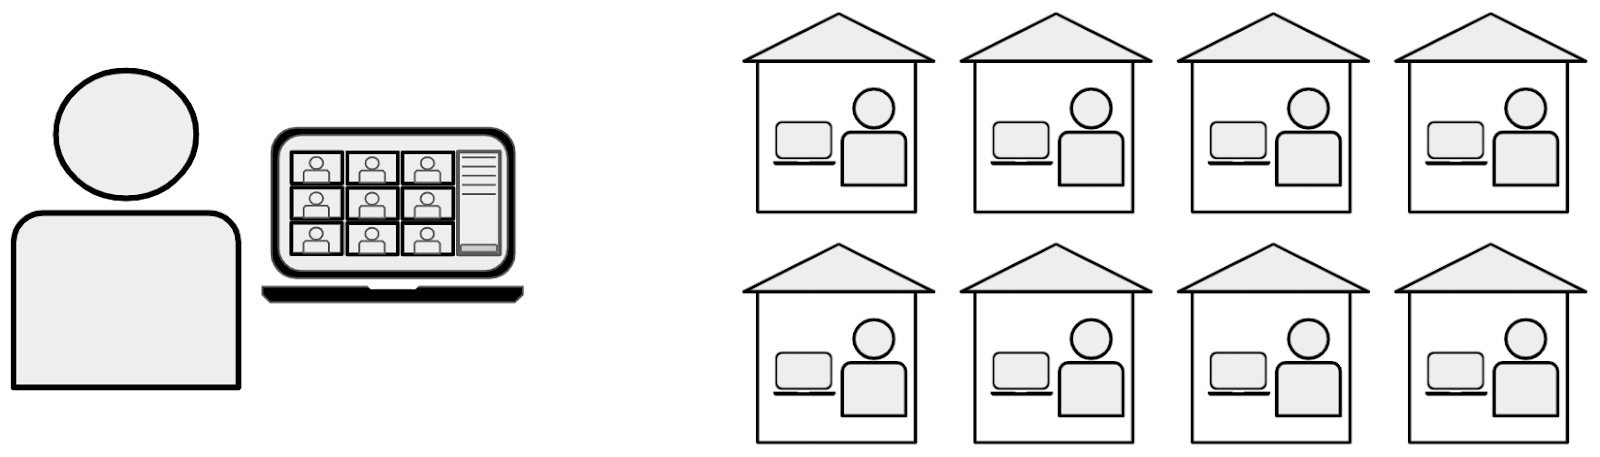
If all of your students are learning remotely on the same day of the week, this would be an ideal time to conduct live, virtual classes using videoconferencing software like Zoom, Google Meet, and Microsoft Teams. Not only does this give you one more day in the week where you can see and hear from your students, it also serves as a way to bring your A and B students together in the same space to build your classroom community. Without this experience, your students might never get a chance to mix together since their A/B days are consistently split into opposite in-class and remote learning groups. The live Friday sessions could be used for community building, synchronous whole-class lessons, or independent and group check-ins. Creating and reinforcing your classroom community will also benefit you and your students should you transition back to a full face-to-face learning model.
Live Stream
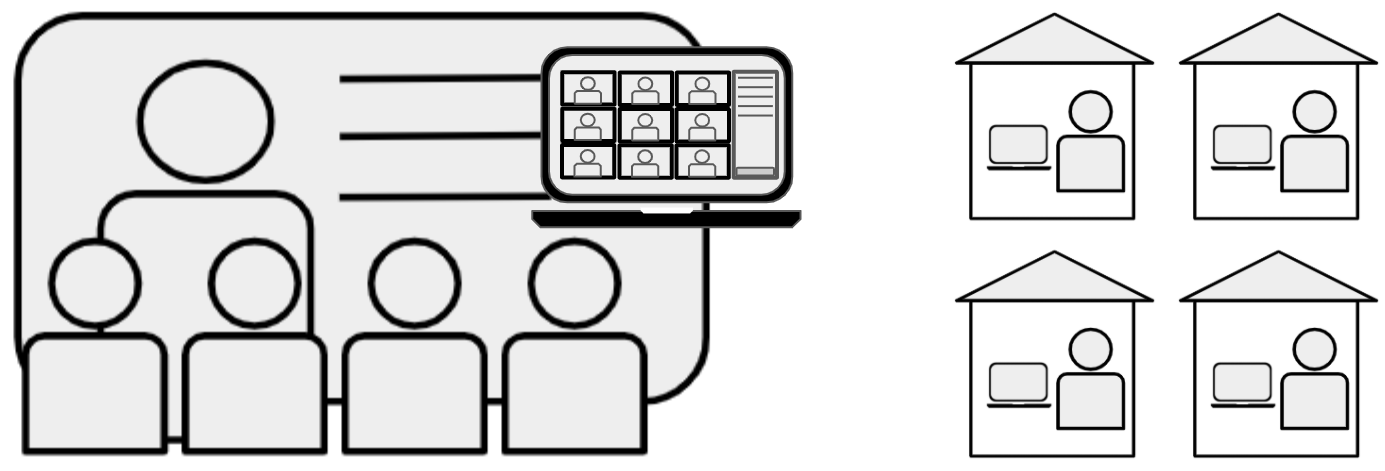
This strategy is similar to live, remote learning, but it is different enough to require its own description. In this scenario, a teacher uses videoconferencing software (or another streaming service) to broadcast a face-to-face lesson to students learning remotely. In this way, the remote and face-to-face students receive the same instruction at the same time. This approach has the potential benefit of connecting your A and B groups with each other, and it could save you time in creating additional screencasts.
There are a few key challenges to live streaming that you should consider as well.
Attendance
- Challenge: Not all of your students may be able to attend your live stream. Because of this, you will either need to record this session or create a separate screencast version for those who need to watch at a later time. When recording your session, be sure to consider student privacy. Some districts have policies that do not allow teachers to record and post video that shows students’ names and faces.
- Solutions: Check with your local policies before recording your live lessons. If you are allowed to record names and faces, you can easily record the live session and post it to your learning management system for students to watch later. This can also be helpful for in-class students who wish to review the lessons. If you are not allowed to record names and faces, you can record a separate window that only captures the content you are presenting but not the students’ names and faces. Most school policies will allow you to capture students’ voices as long as they are not identified with first and last names or pictures. However, be sure to check your local guidelines before recording. If these options don’t meet your needs, you will likely need to record a separate screencast for students who cannot attend synchronously. This will work well for your students, but it is an extra step for you.
Feeling Connected
- Challenge: Another challenge is that remote students may feel disconnected during a live stream. It is often harder for remote students to hear both the teacher and questions and comments from in-class students. If the audio is poor, this can be very frustrating for remote students, and they may feel like they are an afterthought. Similarly, remote students may not be able to see everything as clearly as those in the class.
- Solutions: Thoughtful placement of the camera and microphone can help, so consider this if you choose to live stream your lessons. If bandwidth allows, you can also have in-class students log in to the video meeting. This allows in-class and remote learners to see each other in real time. If in-class students speak, they can unmute, so remote students can hear them better. Another strategy is to assign remote students to an in-class study buddy. In-class students can help advocate for remote learners and help to answer their questions. They can also call attention to questions posted in the chat, so the teacher doesn’t need to monitor this as well. Of course, you’ll want to make sure that the in-class students can focus on their own learning and not be continually distracted with their remote partner.
Seeing/Hearing Remote Students
- Challenge: One additional challenge is the inability for the teacher to see and hear the remote students. Some videoconferencing software does not allow you to effectively see the faces of all students while you are presenting your screen. In other cases, students will turn off their cameras because they are not comfortable being on screen. This limits your ability to visually check for understanding, and it makes it more likely that student confusion will go unnoticed.
- Solutions: If you have a second computer, you might consider opening another instance of the meeting as a student. This may allow you to see more student faces than you can see on your teacher station while presenting. You can get input from remote students through assigned study buddies to help you stay connected to how they are doing.
Student Privacy
- Challenge: Not everyone is comfortable having their participation in a class streamed into other students’ homes. Similarly, not all students or families are comfortable having the class session recorded and posted for others to view (or distribute). As referenced earlier, some states and/or districts face legal restrictions in regards to posting classroom video and identifiable student information.
- Solution: Allowing your students to blur their backgrounds or add a background image can provide them with an added level of privacy when streaming in from their homes. Some students may still not be comfortable having their cameras on, so you may need to allow them to keep their cameras turned off during a lesson. These students can still participate fully despite an unused camera. You can also consider a one-way stream with only your face and instructional content on the screen. This reduces the effectiveness of the lesson because students will not be active participants, but it can be a work-around if needed. If you are allowed to live stream with student faces and names but not post identifiable information in class recordings, you can use screencasting software to record only the teacher and content in a separate window without capturing student names and faces.
Semi-Synchronous
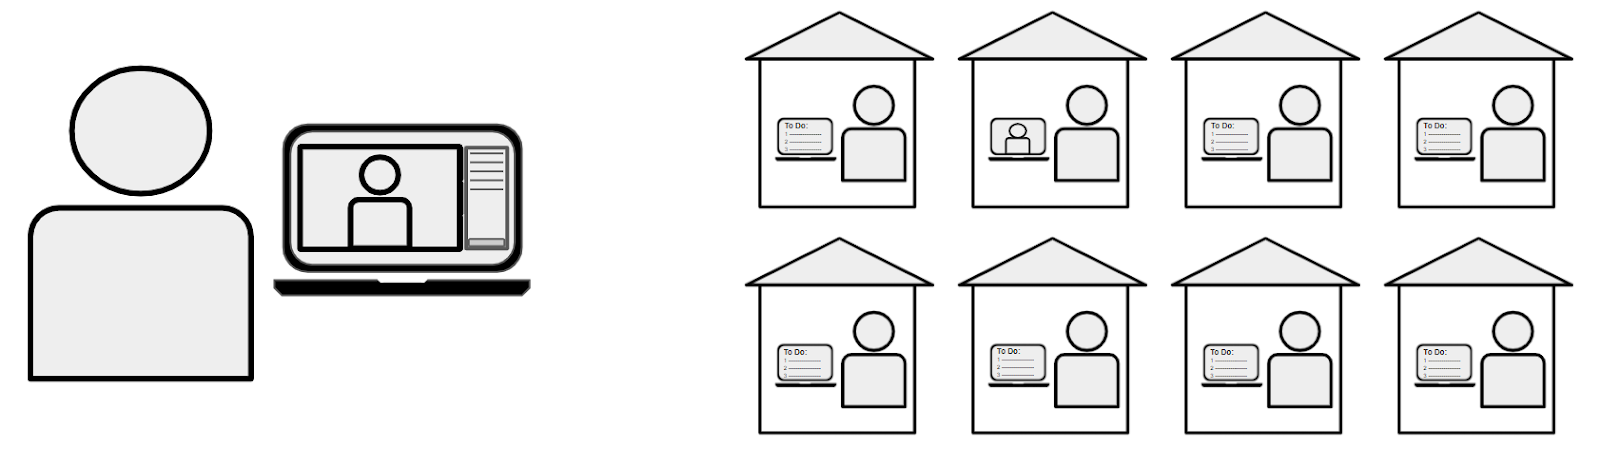
This is a powerful strategy when facilitating remote learning. Semi-synchronous means that you have your video meeting running while students are working independently. While you may not be actively presenting new content or facilitating synchronous learning activities, you are available to your remote students through the video meeting. If students have a question, they can join the video meeting to ask a question or seek extra help.
This can work especially well during days when all students are learning remotely, but it can also be used in conjunction with A/B hybrid days. For instance, if you used a live stream for a quick mini-lesson, you might choose to leave your videoconference open while in-class students are practicing or doing independent work. This keeps your remote students connected if they have questions. If you are facilitating in-class group work, you could potentially have remote students participate as well in breakout rooms, or you might allow remote students to connect during class time in breakout rooms to work through the lesson collaboratively.
One other thing to remember is that conversations with students who check in may be audible to other students who have the meeting running in the background. Be aware of student privacy as you meet with students. One solution is to encourage students to log out of the meeting until they have questions. However, in this situation, you cannot control who is listening, and some students may not have left the main meeting room. Another solution that gives you more control is to create a separate breakout room (or a separate meeting link altogether) for one-on-one conversations. When students join, you simply move to the breakout room or the secondary meeting link with the student. In those spaces, no one else will hear your conversation.
Extend Your Learning
- As Teachers Livestream Classes, Privacy Issues Arise (Education Week)
- ‘Semi-synchronous-ness’ Is Our New Favorite Thing (Teach Like a Champion)
- (The Right) Learning Modalities To Deliver Digital Learning (eLearning Industry)