Digital whiteboards are a powerful way to engage students in live video classes. Not only do they allow you to display notes, illustrations, diagrams, math problems, and more on a shared screen, they also allow students to record their own ideas. You could choose to have each student use their own whiteboard, or students could collaborate in a shared space.
Choose a Digital Whiteboard
Your first step is to choose a digital whiteboard that will work for you and your students. Some platforms have these tools integrated into the video conferencing software, but even if this is not an option for you, there are some robust free options available as well.
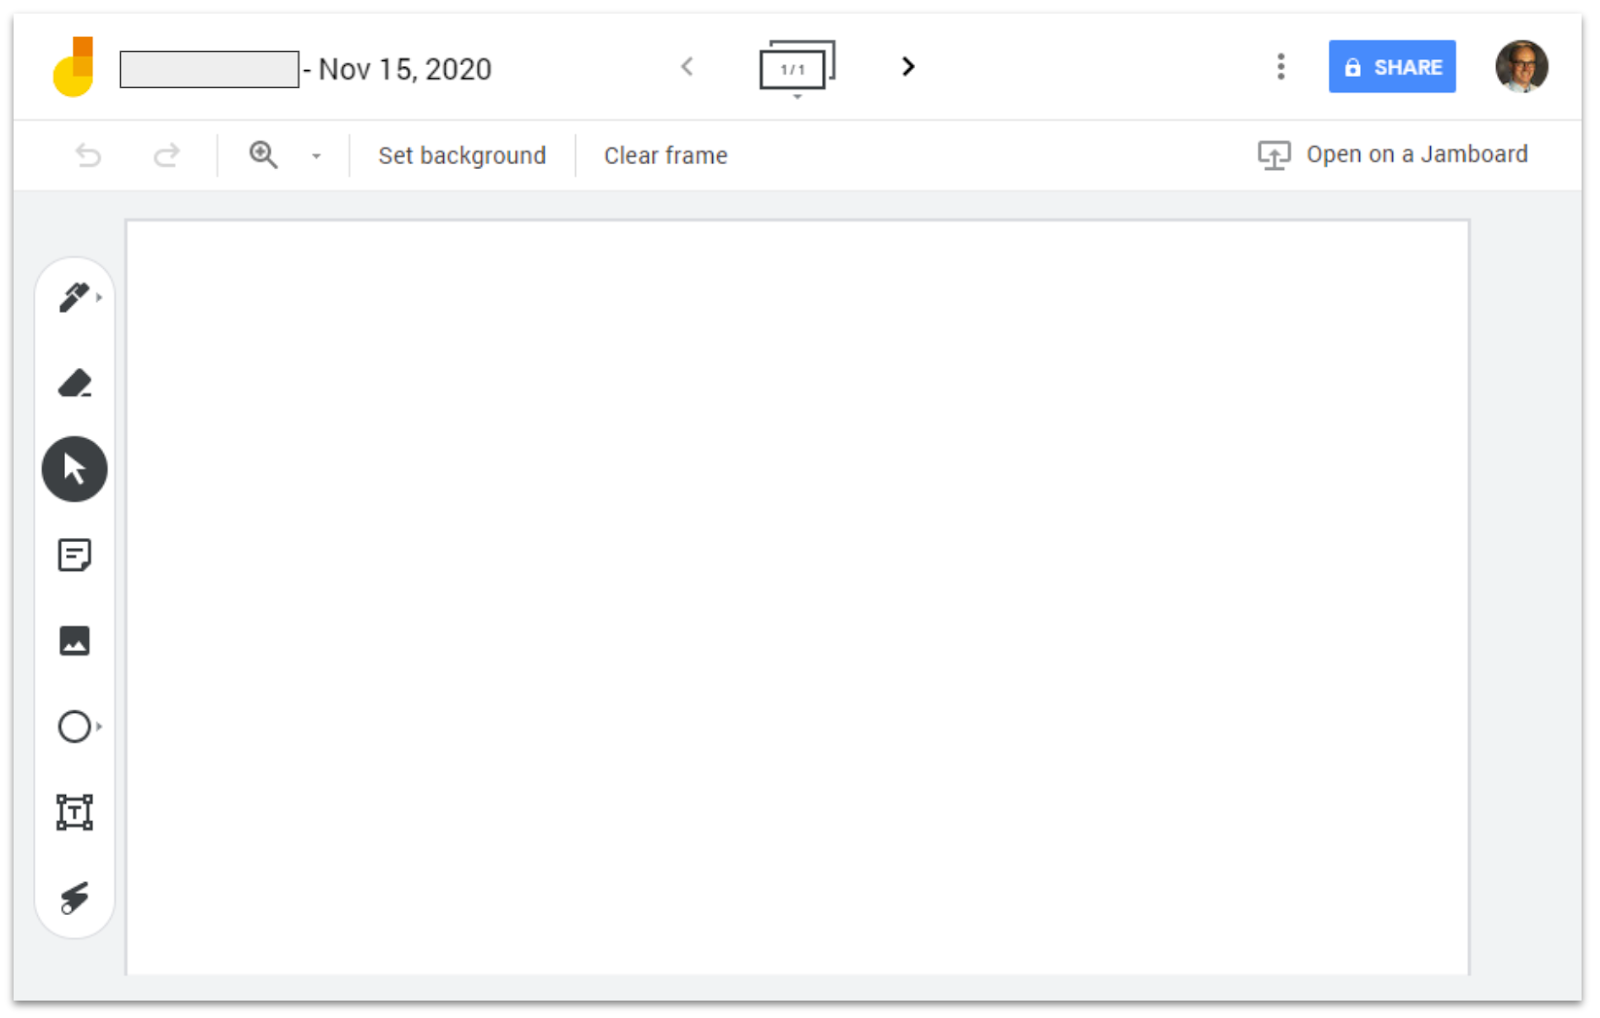
- Google Jamboard: This option is integrated into both the free and enterprise versions of Google Meet. Hosts may create a board ahead of time or in the moment, and they have the option of giving view or edit rights to the Meet attendees. A link to the Jamboard appears for each participant in the chat area. Jamboard is web-based and does not require an install.
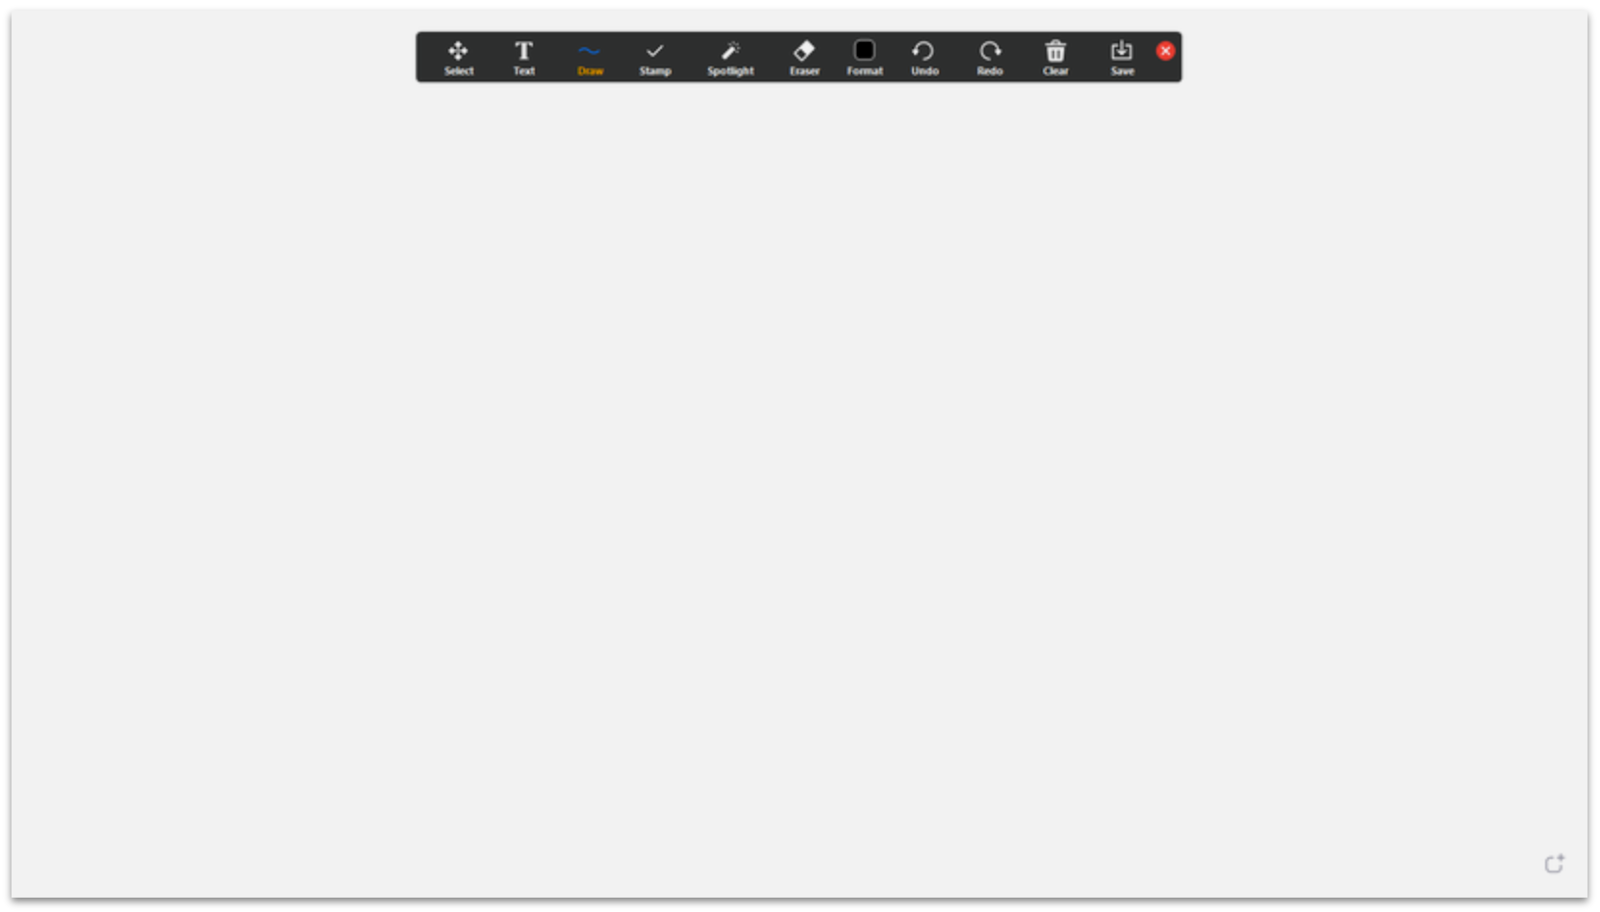
- Zoom Whiteboard: The whiteboard feature is integrated into Zoom. The board can be set to view-only or to collaborative annotation. Both the host and participants can create a whiteboard, but only the person who created the board can control access or page creation. The whiteboard requires a desktop client install or mobile device app.
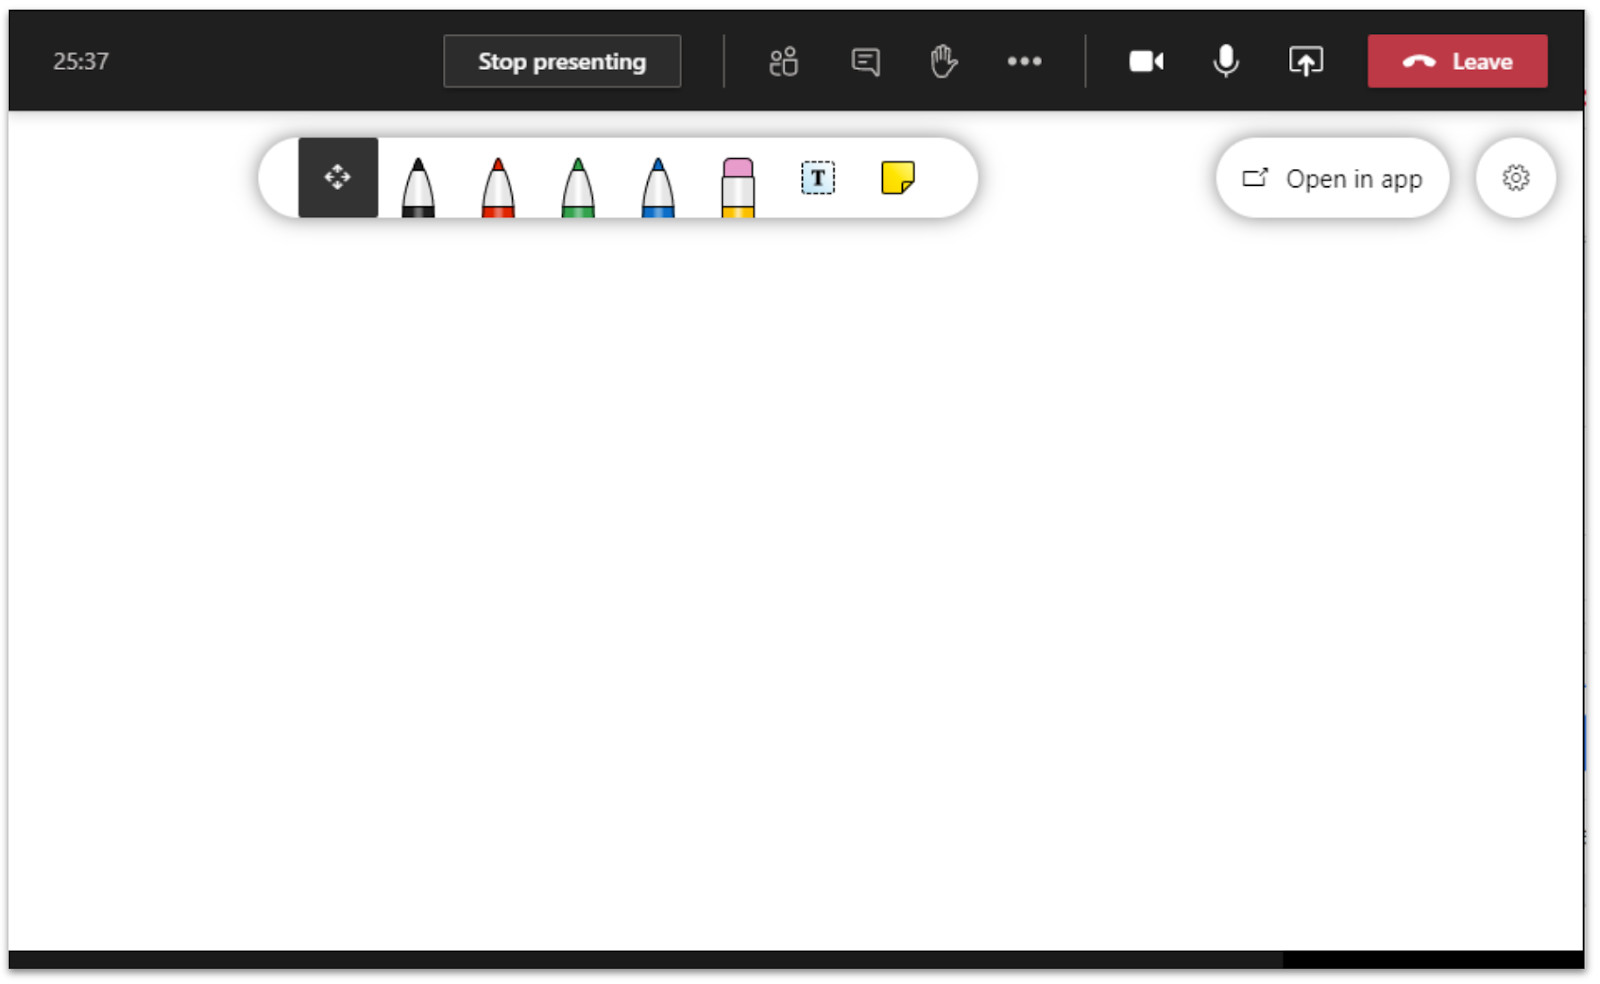
- Microsoft Teams: Like the other platforms, Teams has an integrated whiteboard set that allows all participants to add content by default. The whiteboard can be used within the Teams meeting. For full functionality, attendees should open the whiteboard in the Microsoft Whiteboard app.
- Whiteboard.fi (Tips): This free product has been specifically made for teachers and classrooms. Since students do not need an account, it works well for students of all ages. The teacher launches a class. Students join by clicking a link which can be shared in the chat area of your meeting. The teacher has a board as does each student. The teacher can see all students’ boards in real time. The teachers can lock the room, enable saving and download the whiteboard as a PDF.
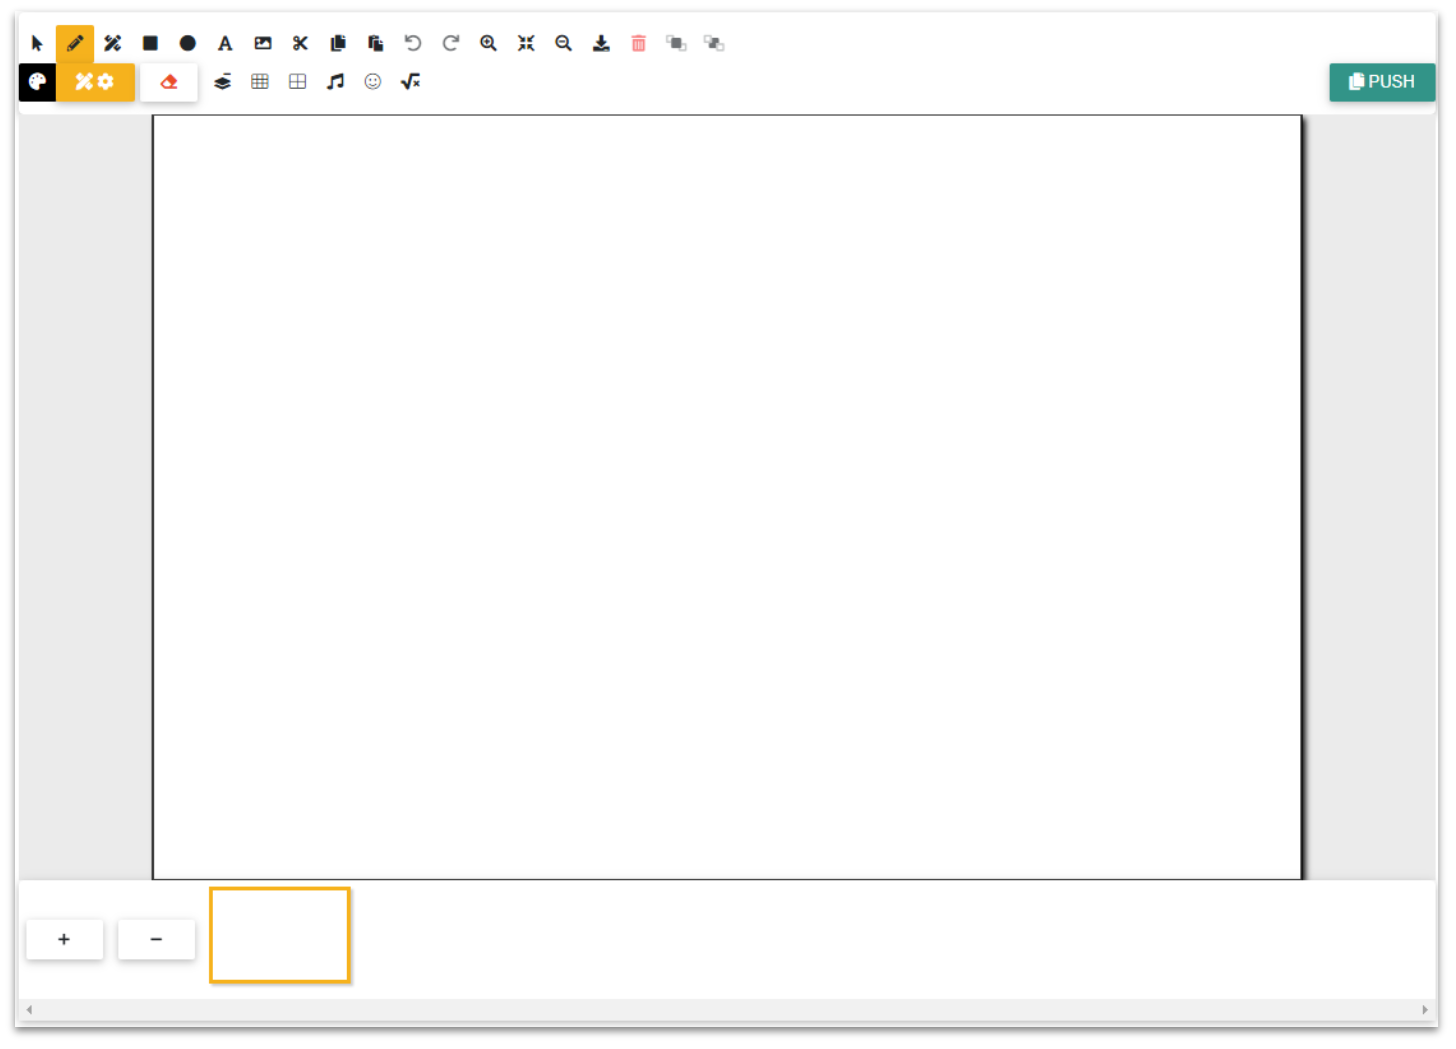
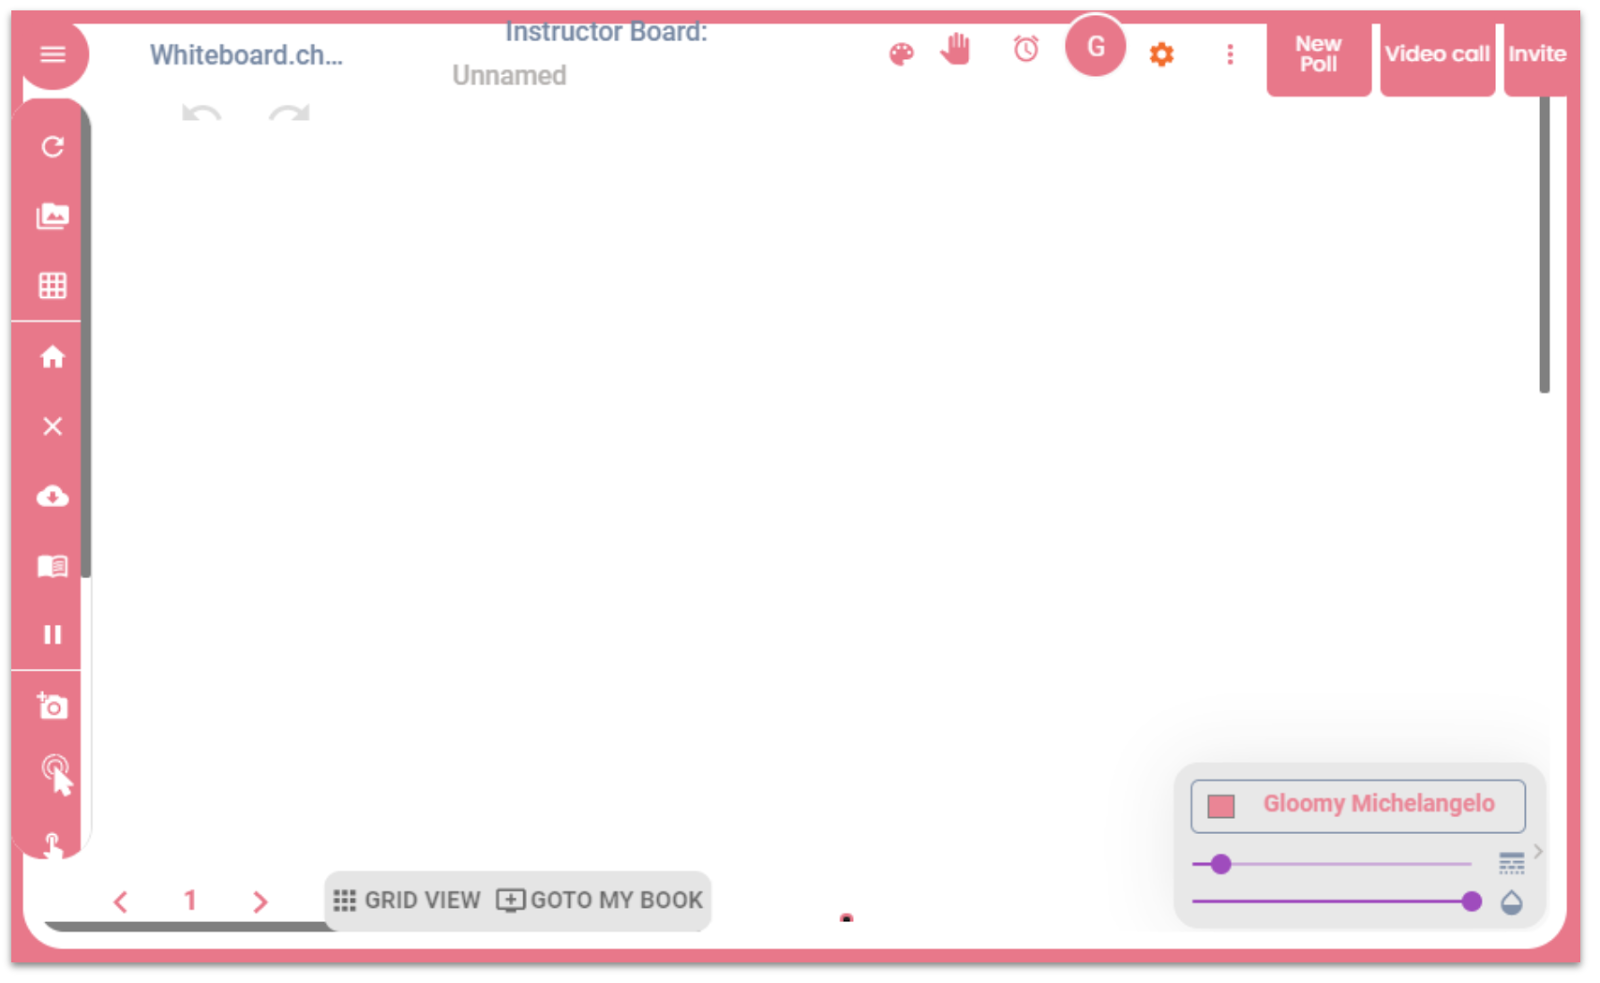
- Whiteboard.chat: This free tool is similar to Whiteboard.fi. It is more robust, with additional features, but that added functionality also makes this platform less intuitive for younger learners. It includes a teacher mode that allows you to embed PDFs and push out your template to students via a link. As with Whiteboard.fi, students can join without an account, and the teacher can see all students’ boards in real time.
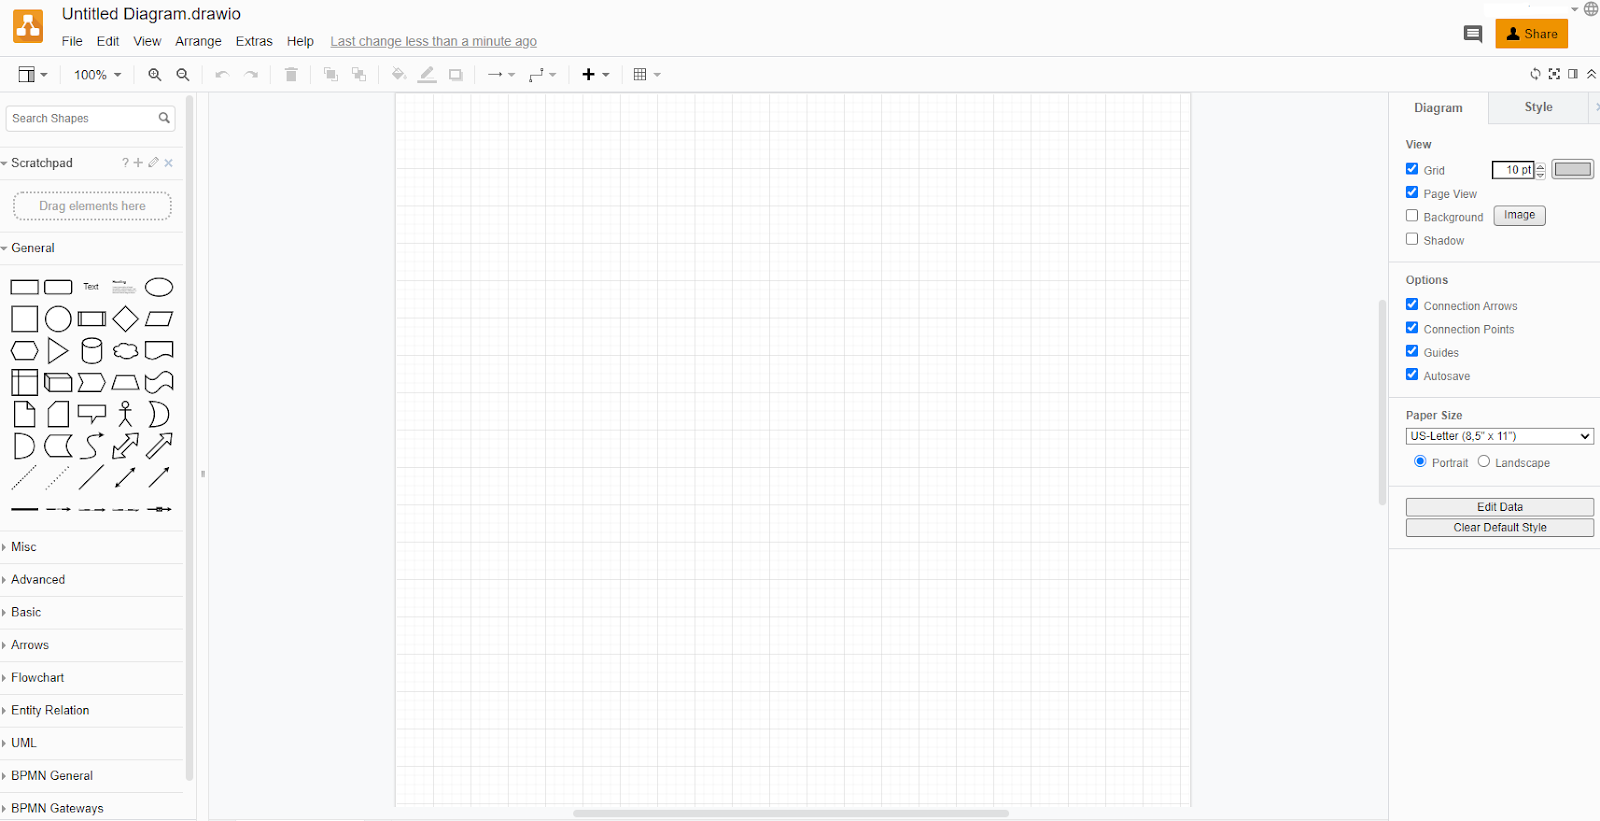
- Draw.io: This tool is also free and excels if you wish to create diagrams using geometric shapes. Draw.io would be ideal for creating flow charts or mind maps and comes loaded with many templates to get you started. Diagrams save into your Google Drive.
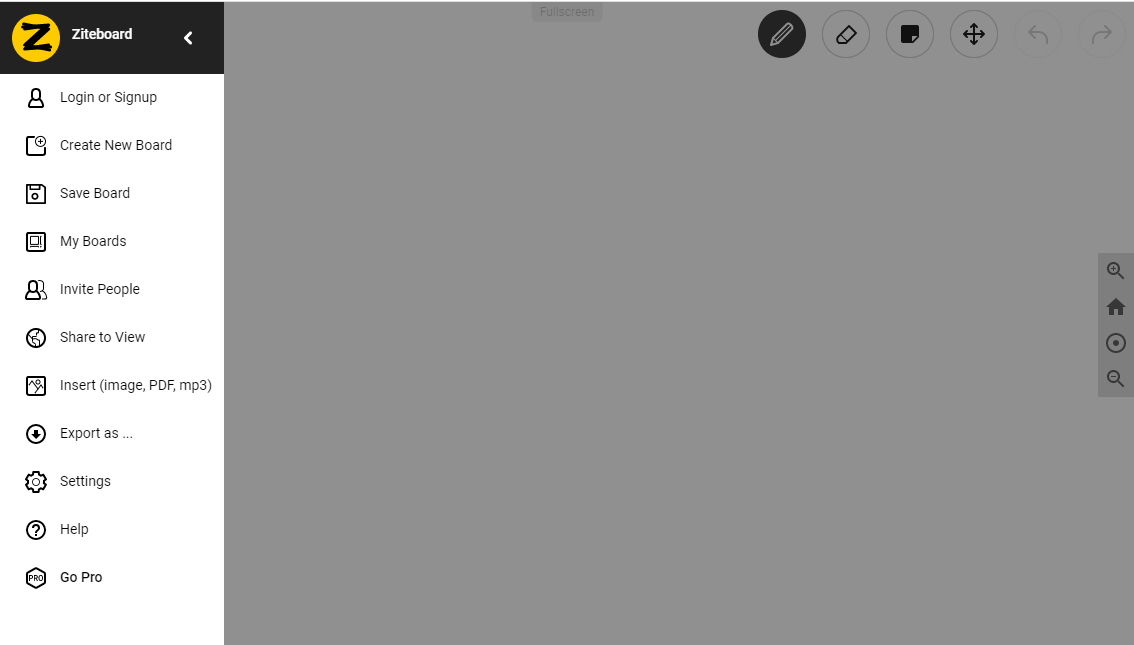
- Ziteboard: Ziteboard is a Chrome Extension that can be used with or without an account. In addition to drawing tools and sticky notes, you may insert images, PDF documents and even MP3 files. If you create an account, you can save and share your boards.
Engage Your Students
Once you’ve chosen your whiteboard, it’s time to design engaging experiences for your students. Here are a few strategies to get you started.
- Digital Tablets: With this strategy, you’d use the whiteboards like an in-class grease board. You would present students with a problem or questions, and they each answer individually on their boards. This is a great way to have students practice while you immediately check for understanding. It’s especially useful for working math problems or sketching concepts.
- Group Work Space: Student collaboration is essential, and these whiteboards provide students with a collaborative space to record their ideas. Depending on your group task, students might use this space to brainstorm, create a collaborative mind map, sketch out a visual representation of content being learned, develop an outline, or record planning decisions for a project. To support collaborative group work, be sure to choose a whiteboard that supports collaboration. Some whiteboards (like whiteboard.fi) are designed for individual work only.
- Community Building: Think of the whiteboard as a virtual piece of poster paper, and use it to have students create and draw collaboratively. This is a great way to get students talking with each other, collaborating on ideas, and negotiating compromise. It’s also a great place to have students develop a team logo, team collage, team name, or even a team song. By giving all members access to the board, they all have an equal voice in the creative process.
- Virtual Gallery Walk: This strategy works great in combination with group work and jigsaw activities. You can assign students to groups and have them create virtual posters representing their assigned content. Once all groups have finished, students can go on a virtual gallery walk by flipping through each team’s whiteboard. To promote critical thinking, you can have them take notes and/or leave feedback for other groups. A great community building activity is to have each person leave a compliment behind as they pass through the pages.
- Data Collection: Live video classes can go by very quickly, and we may not have enough time to fully check for understanding. However, with a virtual whiteboard, you can have individuals or groups of students practice in a space that you can save or download and review later. You can also keep this as a snapshot in time and have students compare this attempt to later work.
- Sketch Notes: Give each student access to their own whiteboard, and have them use these spaces to create sketch notes of new content as you present it. Students can save their notes, and you can review them to check for understanding. This strategy keeps students active during direct instruction. You could also divide up content, have students research on their own, and record their findings in the form of sketch notes on their canvas. This strategy could be combined with a virtual gallery walk to share what each student has learned. For more information about sketch notes, visit this blog post.